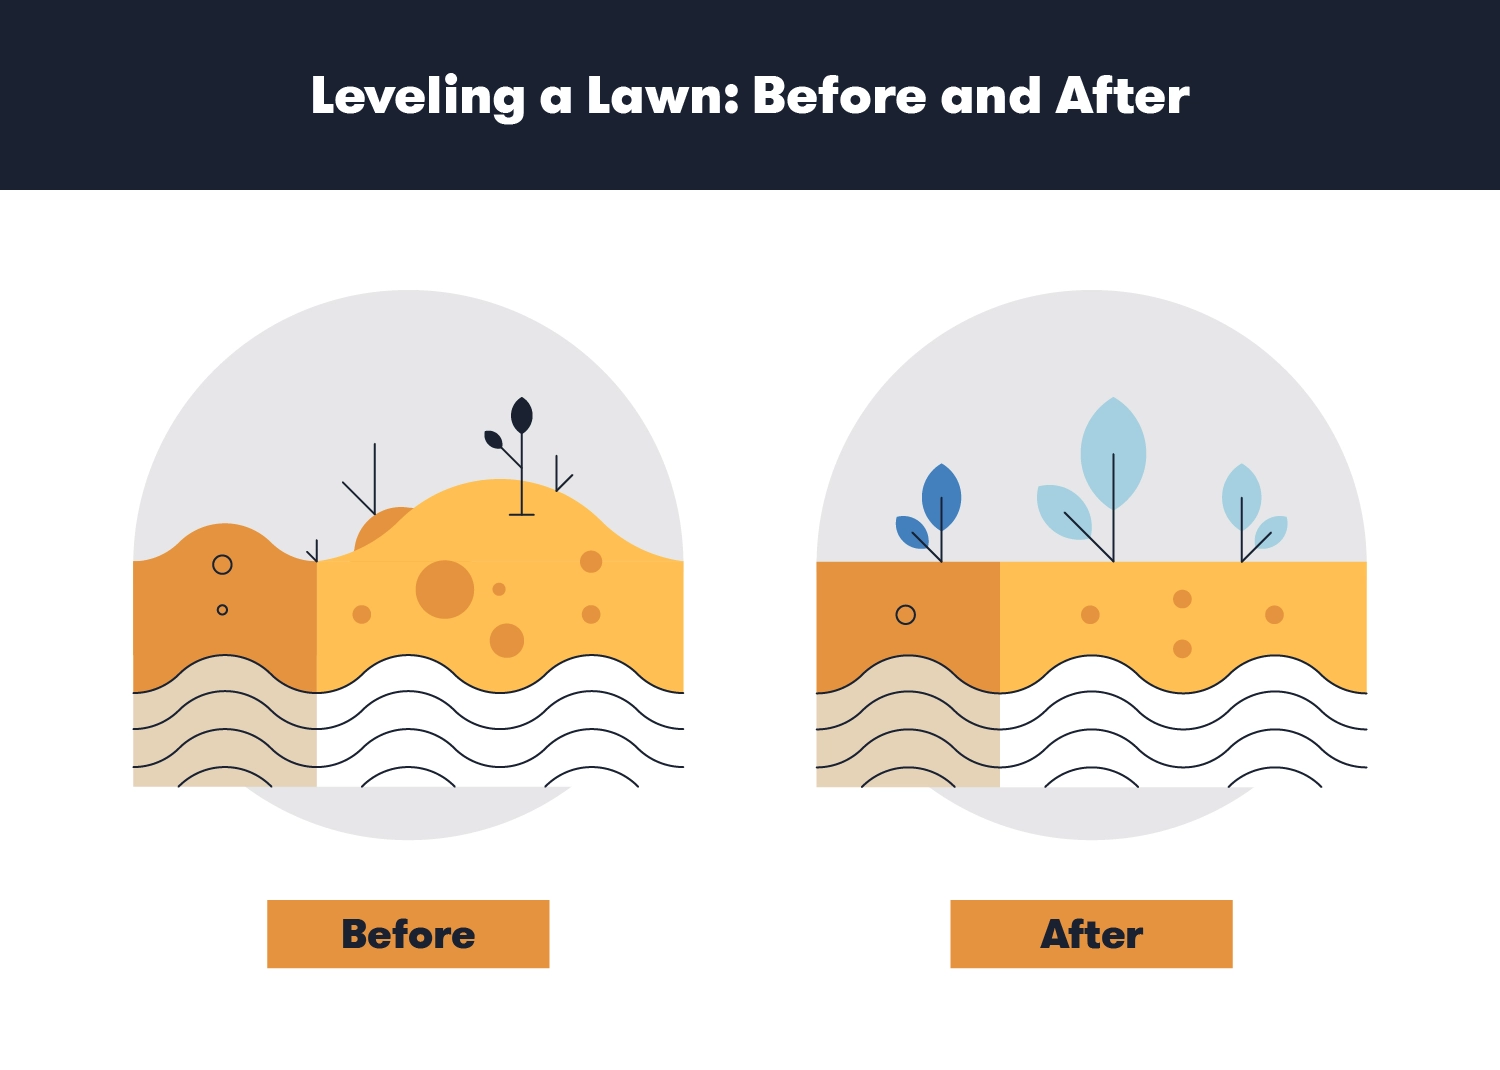
An uneven lawn isn’t only an eyesore, it’s a safety hazard that could devalue your home by up to 15% of its total worth. Yard leveling flattens a bumpy lawn by redistributing soil over the surface. On top of looking better, a level yard will protect a home’s foundation and basement against water damage.
Lawns slope for many reasons, including tree root growth, home improvement projects or poor drainage. Although leveling a yard sounds complicated, with the correct instructions, anyone with basic yard equipment and landscaping knowledge can smooth out an uneven foundation quickly and inexpensively.
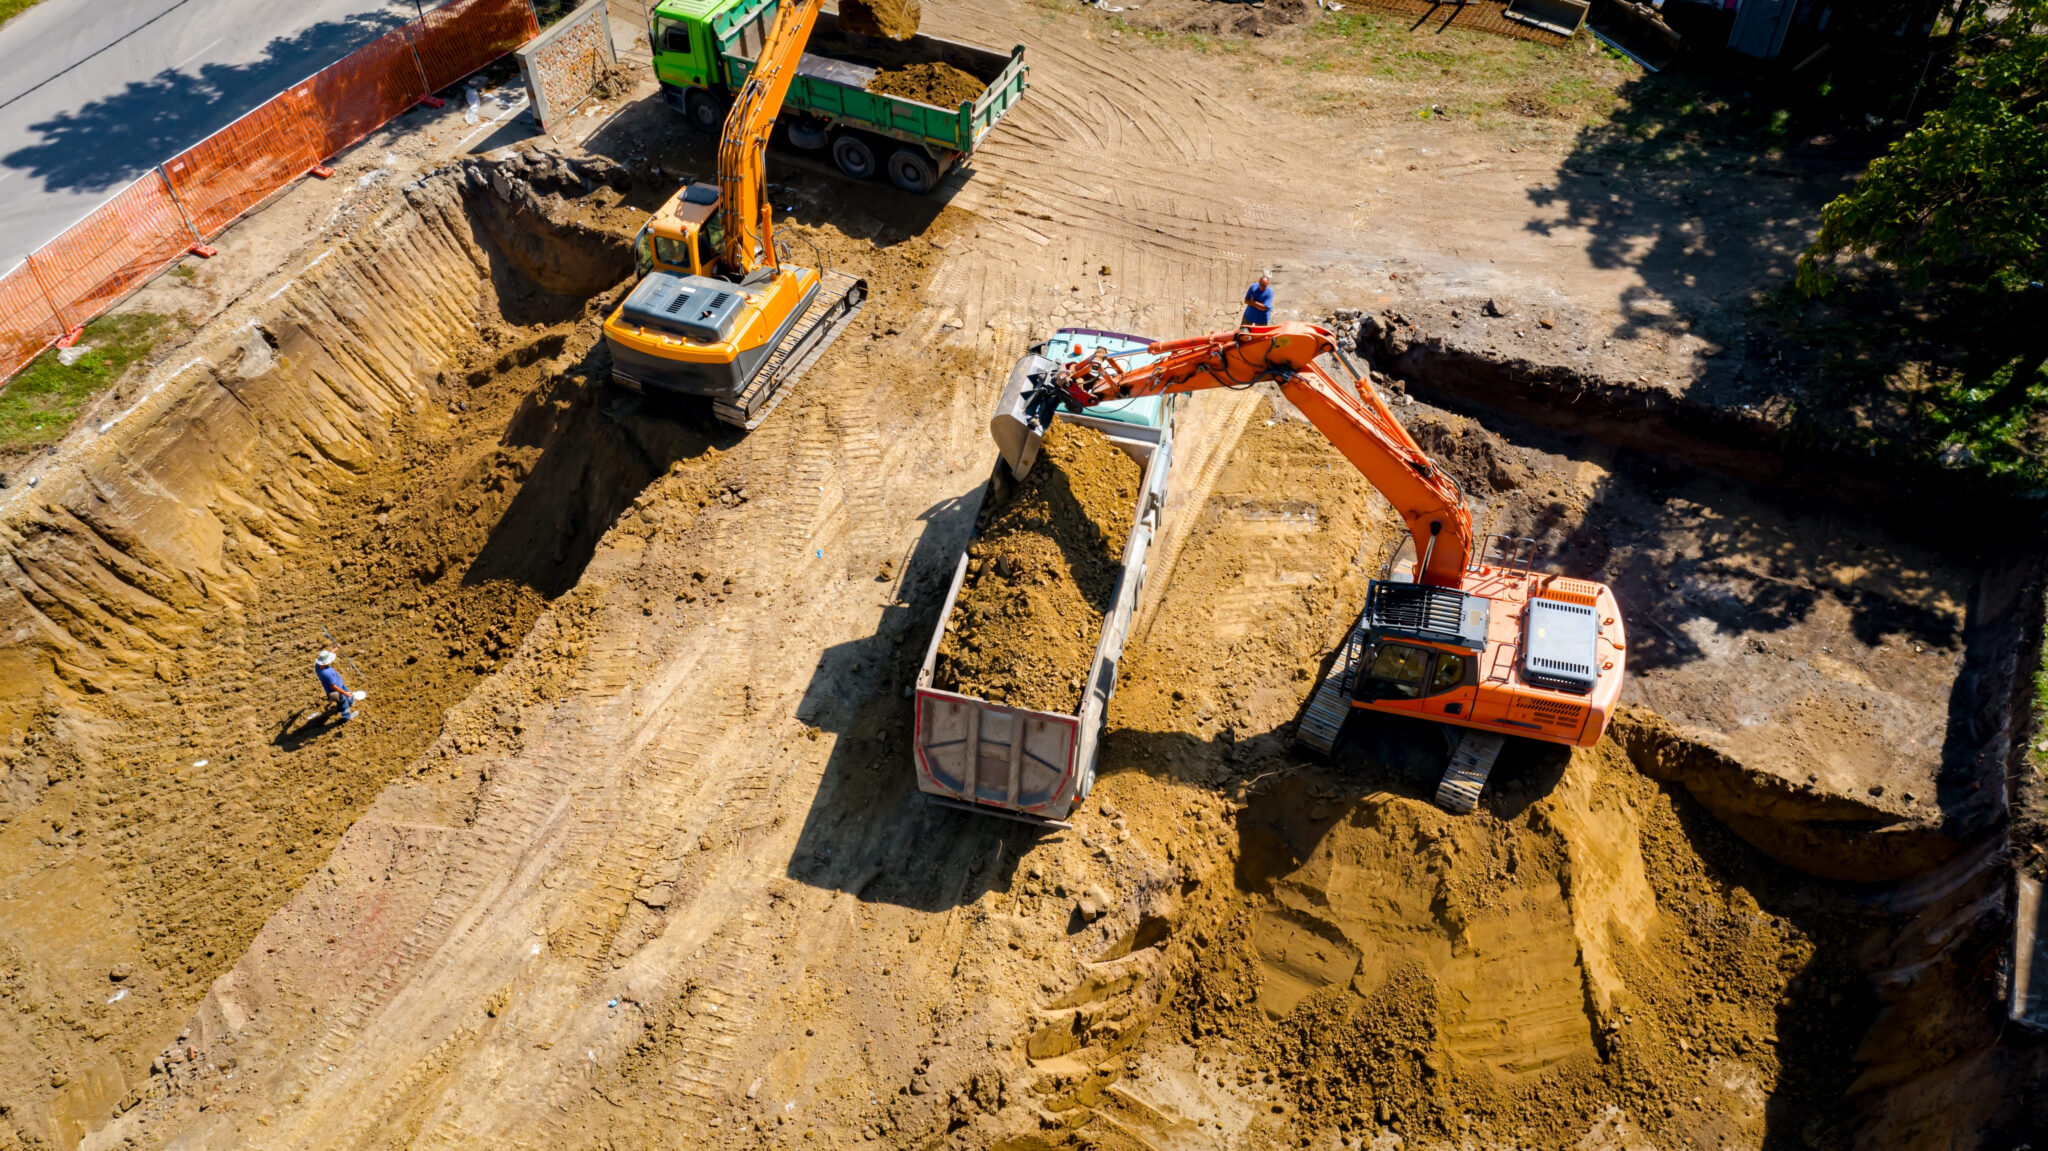
Explore All Earthmoving Equipment
Step 1: Consider the Benefits of Leveling a Yard
Not everyone sees the value of a level lawn. This is because uneven landscape levels rarely cause short-term problems. However, leveling a yard with sand or dirt provides long-term benefits no homeowner should pass up on. They include:
- Preventing Damage And Boosting Value: An uneven lawn decreases the value of a home. On top of looking bad, sloping yards pool water around the base of a house. Pooled water can lead to structural damage that costs hundreds or thousands of dollars to fix.
- Enhancing Drainage: Uneven lawns can’t effectively drain rainwater. Pools of water around a yard attract pests like grubs and mosquitos. A leveled garden or lawn helps keep your home pest-free and slows mold growth.
- Improving Safety: Uneven lawns are full of bumps and pockets homeowners and their children can trip on. Slopes can also affect driveways, creating surfaces that damage cars and impede safe steering.
Despite these benefits, there are a few potential downsides to consider. First, leveling a large yard with expensive equipment can cost thousands of dollars. Additionally, while a level yard looks better, flattening a lawn exposes mud and thatch, creating a temporary eyesore. To avoid this problem, level a lawn well before any events or putting a house on the market.
Step 2: Scope the Project
Before starting a leveling project, you have to outline your goals. Depending on your project’s scale, the size of your team and the tools they use will change. Some guidelines to consider include:
- Will you flatten an entire yard or just part of it?
- Do you intend to grade the soil or slope it away from the house?
- Would you like to use heavy equipment like compressors or hand-powered tools?
When Should I Level My Lawn?
Lawn leveling, along with most landscaping projects, should happen during the dry season. Leveling during spring also increases the speed at which grass regrows. If you try leveling a sloped yard before and after heavy rainfall, you run the risk of soil erosion, so avoid the fall and winter months.
What Is Backyard Grading?

Grading a backyard is a lawn leveling process that creates a mild incline. These graded lawns keep water from concentrating around the house. A graded yard will allow water to flow away from your home, where it can do the most damage. Homeowners can design a mild grade, but the best-designed slopes require a landscaping team.
Although many leveling projects stop at flattening a yard, you should consider grading if water frequently builds up around the house. Effectively grading a lawn is more difficult and time-consuming than flattening one. Professional grade equipment will go a long way with backyard grading.
How Much Does it Cost To Level My Yard?
On average, leveling a yard costs around $2,000. Removing slopes in a small area around a pool or patio costs between $500 and $1,000. On the upper end, flattening an entire backyard costs between $2,000 and $5,000.
Many homeowners try DIY leveling projects. While this approach is cheaper, larger yards require more tools and labor than one person can afford. Additionally, landscaping teams have access to different types of compactors that can level more soil in less time.
Step 3: Prepare and Gather Tools
Once you map out your leveling project, you’ll need to get the necessary tools together. While you can flatten a yard with heavy machinery, standard lawn tools can get the job done, as well. The equipment choice you go with should depend on the amount of ground you intend to level and the budget you’re working with.
What Equipment Is Needed To Level a Yard?

Once you’ve learned how to level a bumpy lawn, you need the right tools for the job. Since yard leveling doesn’t always require expensive equipment, not all teams need skid steers and mini excavators. Most landscaping teams will have the necessary equipment on hand. The essential tools for leveling dirt include:
- Sand
- Topsoil
- Compost
- Carpenter’s level
- Push broom
- Hand Rake
- Shovel
- Edger
- Dethatching machine or thatch rake
- Sprinklers or hose
- Lawn Mower
- Wheelbarrow
What Kind of Dirt Do You Use To Level a Lawn?
The best mixture is 40% topsoil, 4% sand and 20% compost. While the compost adds nutrients that promote grass growth, the sand allows for better drainage.
Step 4: Mow and Dethatch Your Lawn
First, you can begin by mowing the lawn. Don’t cut the grass so short that the stems become visible. Grass cut this short may dry out and die during the leveling process. To avoid this, keep the grass’ length around two and a half inches.
Next, teams need to watch for thatch, a layer of decaying grass and other organic matter that builds up at the base of the turf. Less than a half inch of thatch is fine, but any more than that will keep grass from getting enough water and air. Before proceeding, use a thatch rake or dethatching machine to loosen and remove excess thatch.
Step 5: Make a Soil Mixture
After removing excess grass and thatch, you can prepare a top-dressing mixture. This lawn level mix requires one part compost, two parts topsoil and two parts sand. For ease of use, consider mixing these materials in a wheelbarrow. You’ll want 0.77 cubic feet of topsoil mix for every 1,00 square feet you intend to cover.
Step 6: Look for Sunken Patches of Grass
With excess grass and thatch out of the way, you can now look for low spots and sunken patches of grass. Remove the patches with a shovel if you spot an area deeper than two or three inches in the ground. Near the house, you should dig up any divots lower than one inch. This extra caution around a home prevents water from damaging the foundation or basement.
Step 7: Fill Sunken Areas With Soil
Once the low spots are exposed, fill these patches with your topsoil mix. Once they are level with the ground around them, put the grass back on top of the soil mixture. Put extra soil around the house to ensure water slopes away from it.
Step 8: Spread and Flatten the Soil Mixture
Once you’ve filled the divots, spread the remaining top-dressing mix across the yard. You can use a bow rake, broom or rototiller for an even finish. This coating should cover between one-quarter to one-half of an inch. Be careful not to use too much of the mix because it can stifle the grass and keep it from getting nutrients.
Step 9: Water the Lawn
Water will help the lawn leveling mixture settle into the grass and fill the remaining air pockets. Run the lawn sprinkles or a hose over the mix as soon as possible. While you want the grass and topsoil mix damp, don’t let the soil become muddy. As an added benefit, the water will help infuse the mixture’s nutrients into the soil.
Step 10: Reapply Soil as Needed
After watering the grass, check for runoff or puddles. Pockets of standing water indicate the lawn isn’t completely smooth. Reapply the lawn leveling mix and water it until the grass starts to grow or you can’t see the original mix layer anymore. Usually, this doesn’t take more than two layers, but particularly uneven lawns may require three.
Should You Rent or Buy Leveling Equipment?
While most teams will have basic yard leveling tools on hand, not all landscaping screws keep rollers and rammers at the ready. This leaves landscaping crews with the decision between buying or renting their equipment. While buying a compactor is tempting, renting is often the better investment. Renting offers the flexibility to choose a type of compactor best suited to each project’s size and terrain.
With the right compactors on hand, landscaping crews set themselves up for success. BigRentz offers a wide selection of compaction equipment that can flatten terrain on any landscaping project.