
Grading with a skid steer gives you a safe, level surface or work area, primed for numerous projects. This piece of equipment can help you prepare your jobsite for activities like creating a driveway, parking lot, or a building’s foundation.
Regardless of what you need to grade, a skid steer loader might be the best option for you. In this article, we discuss how to grade with a skid steer as well as how this construction equipment compares with other grading machines.
Why Use a Skid Steer for Grading?
A skid steer is a solid choice for grading for a few reasons. It’s highly maneuverable, lightweight, and comes in various models to accommodate different terrains. A wheeled skid steer is ideal for working on dirt, while its cousin, the track loader, handles better on soft ground. Track loaders excel on terrain like muddy soil, snow, wet surfaces, and gravel.
While a skid steer can cover a variety of grading applications, it’s most suitable for small to medium jobs. Mini skid steers are ideal for tight spaces. Larger machines, like motor graders or bulldozers are best for leveling larger areas, like grading for massive buildings, long roads, or railway construction.
How to Grade with a Skid Steer
Now that you know what types of projects a skid steer works best for, here are the steps to take for grading with one.

Step 1: Assess the Site and Remove Obstructions
First, make sure the area you’re about to grade is clear and ready for work.
Check the area for things like sprinkler systems or underground piping you could hit during the process. Look for large rocks or any other obstructions, like cables or wires. You should also call 811 before you dig to ensure the area is safe for grading.
Some skid steer attachments can be helpful during this step, like a skeleton bucket attachment for removing large rocks—but we’ll touch on attachments in depth later on.
Also, make sure you mark areas where you can and can’t dig or grade so everyone is aware of them during the project.
Step 2: Choose the Right Bucket Attachment
Make sure the bucket attachment you’re using is the appropriate size for the machine. The bucket should be two inches larger than—or reach about two inches past—the vehicle’s tires to keep the tires from negatively impacting the grading project.
Step 3: Begin Rough Grading
Once you’re ready to grade, start with rough grading first to shape the ground for the desired elevation and contour. This involves redistributing dirt or ground where needed or adding road bond, gravel, dirt, or other materials into the mix and dispersing it around the area you want to grade.
Rough grading also helps set the slope of the ground so that water doesn’t pool in the area you’re grading. If you’re grading around a building, ensure there is a slight slope away from the foundation so water doesn’t pool around it. You’ll need to ensure there’s a slight slope to prevent water pooling for virtually any project.
To rough grade an area, you’ll drive over it, pushing the ground and running over it with the skid steer to flatten it as needed.
Step 4: Back Drag to Flatten the Grade
Once you’ve spread out the ground or dirt evenly across the area you’re grading, it’s time to back drag the bucket attachment.
To flatten the area where you want, point the bucket attachment down toward the ground and reverse the machine while dragging the bucket attachment in this angle. This is also known as being in “float mode,” because the bucket rests on the ground without any pressure on it, kind of like it’s floating. Using a bucket as a grading blade helps you contour the area without digging in.
Then, when you want to taper the soil you’re pulling, you can release the angle so the bucket is flat. You should be dragging material from the high spots to the low spots using the cutting edge of the bucket to match the grade.
Step 5: Spray the Ground with Water and Make Final Adjustments
When you feel like you’ve gotten the ground ready to meet the elevation standards you need through shaping, contouring, and removing clumps and unwanted bumps, the last step in creating the final grade is to spray the ground with water and look for sections where water pools.
Seeing where or if water pools indicates that you may need to keep grading to prevent puddles when it rains or during other events. If you see that water doesn’t pool in your work area, you have a finished grade.
What Skid Steer Attachments Help You Level Ground?
Depending on the job or project you’re working on, you may want to select a specialized skid steer attachment to help with it. Here are some common attachment options and their applications.
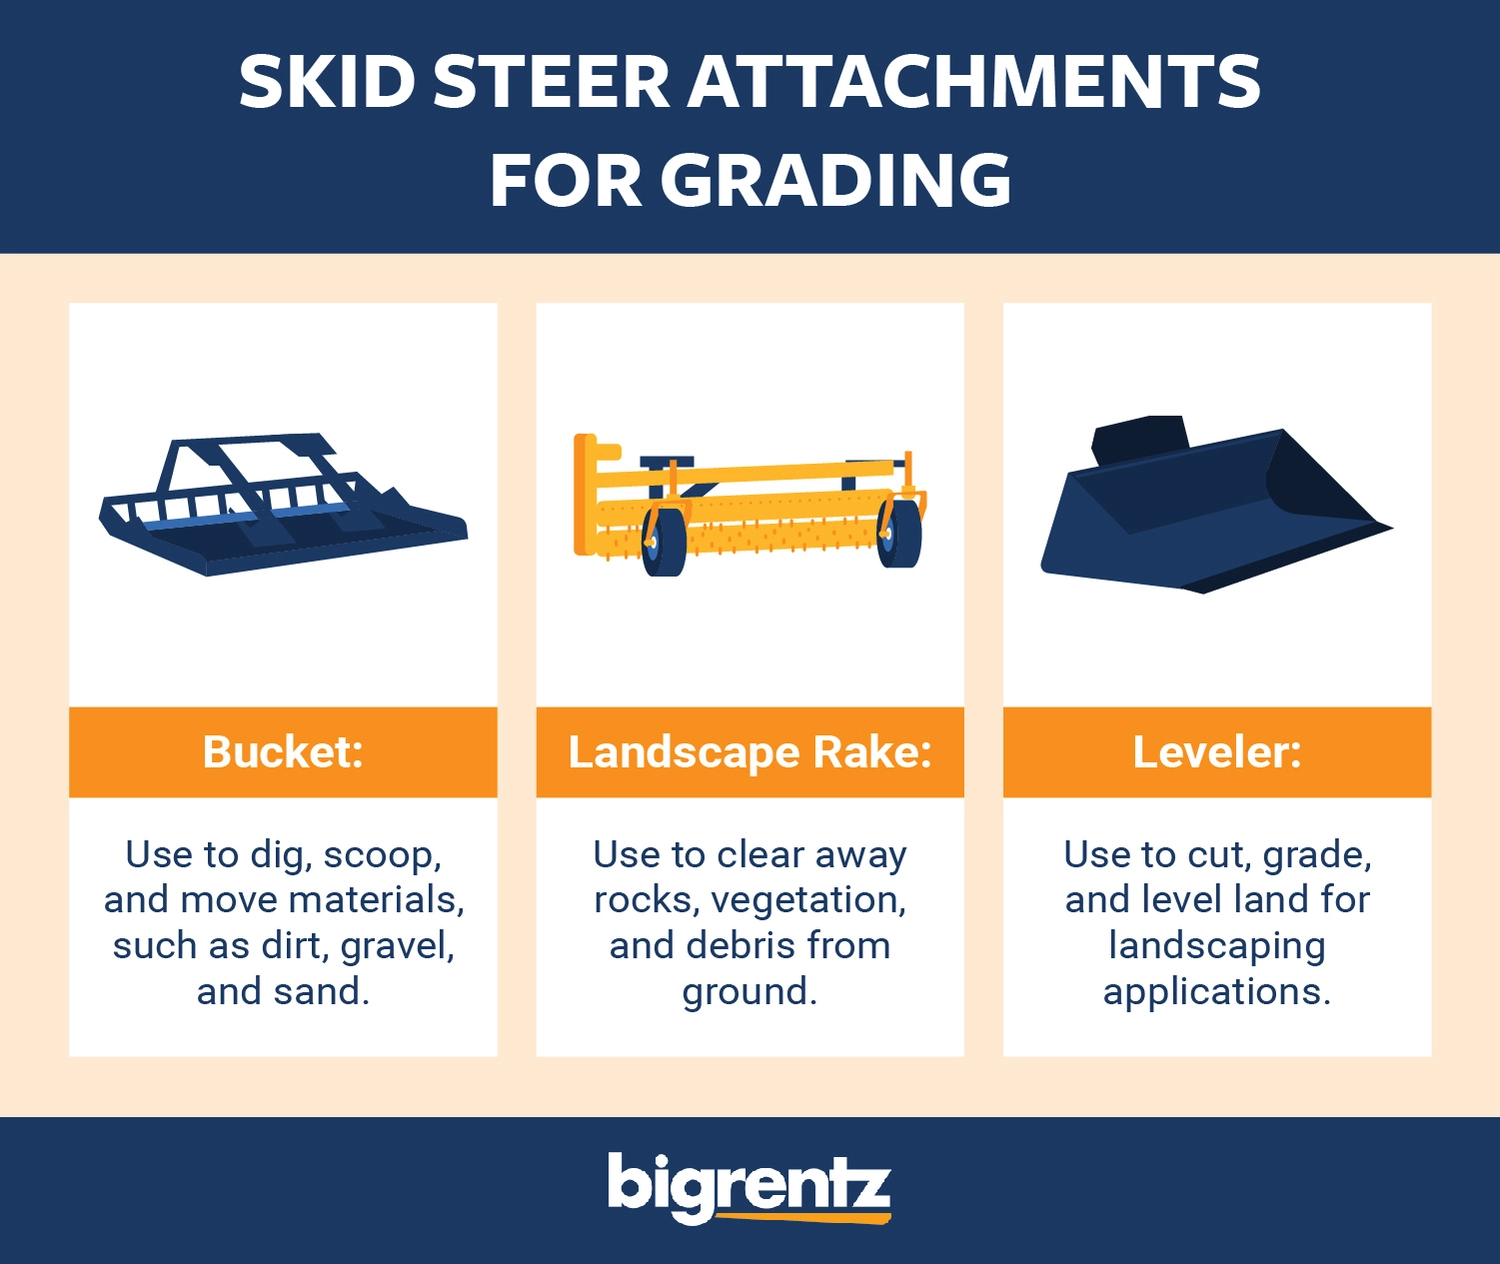
- Bucket: One of the most common and widely used attachments, buckets can scoop, dig, and move materials, like dirt, sand, and gravel. Beyond the basic skid steer bucket, there are several specialized options tailored for different tasks and materials, including some that work well as grader attachments. Some examples include tooth buckets for digging at greater depths or breaking through harder surfaces, smooth buckets for creating a smoother finish, and skeleton buckets for removing and separating rocks and large debris from soil and sand.
- Landscape rake: Landscape rakes help clear away debris like rocks and vegetation from soil surfaces. They’re especially useful in landscaping activities, preparing the ground for planting or seeding.
- Leveler: Levelers, or planers, offer more aggressive grading abilities. They can help cultivate, cut, grade, and level land, especially in landscaping applications.
Skid Steer vs. Track Loader: Which One Do I Need?
The main difference between a skid steer and a track loader is its design: a skid steer comes with wheels, while a track loader runs on tracks. Factors like terrain, speed, maneuverability, power, cost, and site clean-up needs can help determine which vehicle you need.

Use a Skid Steer for Hard Surfaces
Skid steers have better traction on hard or compact surfaces because of their wheels. They’re better suited for work on surfaces like:
- Pavement
- Asphalt
- Concrete
- Soil
Skid steers are also ideal for grading soil and dirt. Track loaders, on the other hand, typically provide more traction on wet or muddy surfaces.
Choose a Track Loader for Uneven, Soft Terrain
As mentioned above, track loaders work best on uneven, soft terrain, like:
- Muddy soil
- Snow
- Wet surfaces
- Sand
- Mud
- Gravel
There’s less potential for damage to grass or soft surfaces when using a track loader instead of a skid steer.
Speed Through Your Project with a Skid Steer
Since they’re on wheels, skid steers move faster than track loaders, especially across flatter surfaces. They can also maneuver to make sharper turns in crowded spaces. Track loaders are better for driving back and forth across an area you need for leveling.
Access More Power with a Track Loader
Track loaders have a more even weight distribution, so they can lift more weight without slipping. They can also compact the ground more handily. Skid steers are lighter weight, so pushing heavier materials may be difficult.
Save Money with a Skid Steer
On average, a skid steer loader costs less to rent than a track loader. Cost shouldn’t be your primary deciding factor, especially if your project calls for a certain type of terrain that works better for one or the other—you’ll want to choose the right one for your project needs. But if both are suitable options, renting a skid steer might run you a little less.
What Other Machines Can Grade Land?
Skid steers are great graders, but there are other earthmoving options out there you can consider, too. Here are some other types of equipment for grading:
- Motor grader: A motor grader is a good option when you need high-precision grading. It works well for setting foundations for buildings, digging ditches, mining, and roadwork. It’s a dual-purpose machine that can also move between jobsites on the road.
- Bulldozer: A bulldozer is a great choice when you don’t need as much precision and need to level land for large areas, like roads, buildings, landscapes, and railways.
- Wheel tractor scraper: This multipurpose machine is best used for leveling, collecting, dumping, or hauling materials, especially on wet soil. It’s a good option if you don’t have access to a dump truck.
- Excavator: An excavator can dig at significant depths, making it suitable for heavy-duty earthmoving applications. Its tilt swing gives you the leverage to shape contours and create slopes when grading, as well as backfill trenches and level various kinds of terrain. For smaller applications, you could use the more compact version, called a mini excavator.

Download our FREE skid steer rental guide e-book today!
Ready to Grade?
The key to a successful job is the right equipment. Skid steers are an excellent choice for various grading and earthwork needs. If you need something a little more specialized, you can also look into track loaders or other graders.
Whether you’re ready to rent a skid steer or another earthmoving machine, BigRentz has all your equipment rental needs covered.


