Tiny houses seem to be all the rage, but what makes these fun-sized homes so desirable? Downsizing to a tiny house could give you the home of your dreams for a fraction of the cost.
Building one yourself costs an average of $45,000 and according to Tiny Life, 68% of people living in tiny houses don’t have a mortgage, compared to the 29.3% of American homeowners that do. Hiring a contractor and choosing to go a more custom route will still save you thousands compared to traditional home building, averaging around $200,000.
If you’re wanting to try your hand at home building or push your team of contractors to take advantage of this growing market, this guide will walk you through how to build a tiny house, step by step.
- Set Your Budget
- Pick a Floor Plan
- Finance Your Tiny Home
- Purchase Construction Materials
- Prepare Your Trailer and Foundation
- Start Framing
- Install Siding, Roofing, Windows and Doors
- Begin Rough-In for Utilities
- Insulate Your Tiny Home
- Add Appliances and Amenities
- Make Your Tiny House a Home
1. Set Your Budget
The first thing you need to do is determine how much you’re willing to spend building the tiny house from start to finish. Consider the cost of the land, how much square footage you can afford and the building costs associated with the home.
You can expect to pay $150 per square foot with the average tiny home ranging in size from 100 to 400 square feet. If you choose to lay a foundation and build on land, you’ll need to consider the cost of the land and building permits.

Tip: Building your tiny house on wheels could be a budget-friendly option that gives you the flexibility to travel.
2. Pick a Floor Plan
Once you have the budget in place, you’ll need to decide on a floor plan. You can either hire an architect to design a custom floor plan, or you can purchase a prefab tiny house kit that comes with a floor plan. If you choose to go the custom route, be prepared to spend roughly $150,000 or more to account for the extra time, architect fees and custom supplies.
Tip: Tiny home kits are great for first-time builders, and are typically the cheaper option, costing an average of $4,000 to $10,000.
3. Finance Your Tiny Home
If you’ve chosen to build a custom tiny home or want to dedicate more money to luxury finishes, you’ll need to secure financing before you start building. Consider hiring a contractor or HVAC professional to help you with your build, and be sure to include their construction bids as part of the total cost you’ll need to finance. If you’re building a new tiny home on land, financing is relatively simple since it’s treated like a standard home construction.
Tip: Construction loans are one of the best options for financing since they are similar to mortgages and cover the costs of building a custom home.
4. Purchase Construction Materials
After finalizing the design and securing financing, it’s time to put together a list of materials and equipment you’ll need for the build. Some tiny home kits come with all the materials needed, but if not, you’ll need to shop around for the best-priced materials and choose your amenities and finishing touches.
Consider the materials you’ll need for the interior, exterior and final details.
- Joists
- Studs
- Sheathing
- Siding and Roofing
- Trailer
- Windows and Doors
- Appliances
- Insulation
- Flooring
- Light Fixtures
- Countertops and Hardware
- Plumbing and HVAC
- Furniture and Decor
- Tools and Equipment
Tip: Check out some of the latest cutting-edge building materials and construction types to keep in mind when sourcing your materials.
5. Prepare Your Trailer and Foundation
Before you can start building, you’ll need to prepare your type of foundation — either on wheels or on land. If you’re building on land, you’ll start by clearing the build area and pouring a foundation. When the foundation is level, you’ll treat it like a standard new home construction and start installing your subfloor, insulation and vapor barrier to the floor joists.
If you’re building a tiny home on wheels, you’ll need to purchase a tiny house trailer. Some trailers come with undercarriage flashing and square fenders, saving you time and money. Make sure your trailer is level and add any necessary anchors before insulating and installing the subfloor.
When leveling a trailer, start by parking it on relatively level ground before placing four jack stands halfway between the ends of the trailer and the ends of the fender. Of the four, start with the jack that has the most distance between the ground and the trailer before leveling up the three other jacks.

Tip: Check your work by using a four-foot level on various parts of the trailer and make adjustments as needed!
6. Start Framing
Once you have your construction blueprints and foundation set up, you’re ready for the fun part — building your new tiny home! Framing will be the first step in your build.
- Wall Framing: Framing walls in sections makes it easy to raise them one at a time, squaring them before securing them to the subfloor and trailer frame.
- Roof Framing: Based on your design, install your loft and roof rafters.
- Sheathing: Add sheathing to your framed walls and roof to strengthen the structure and provide a base for roofing and siding.
- Windows and Doors: Cut openings in the sheathing for the windows and doors that you framed.
Tip: To cut openings for windows and doors, poke holes at each of the four corners of the opening and use a chalk saw to make chalk guidelines before cutting the opening.
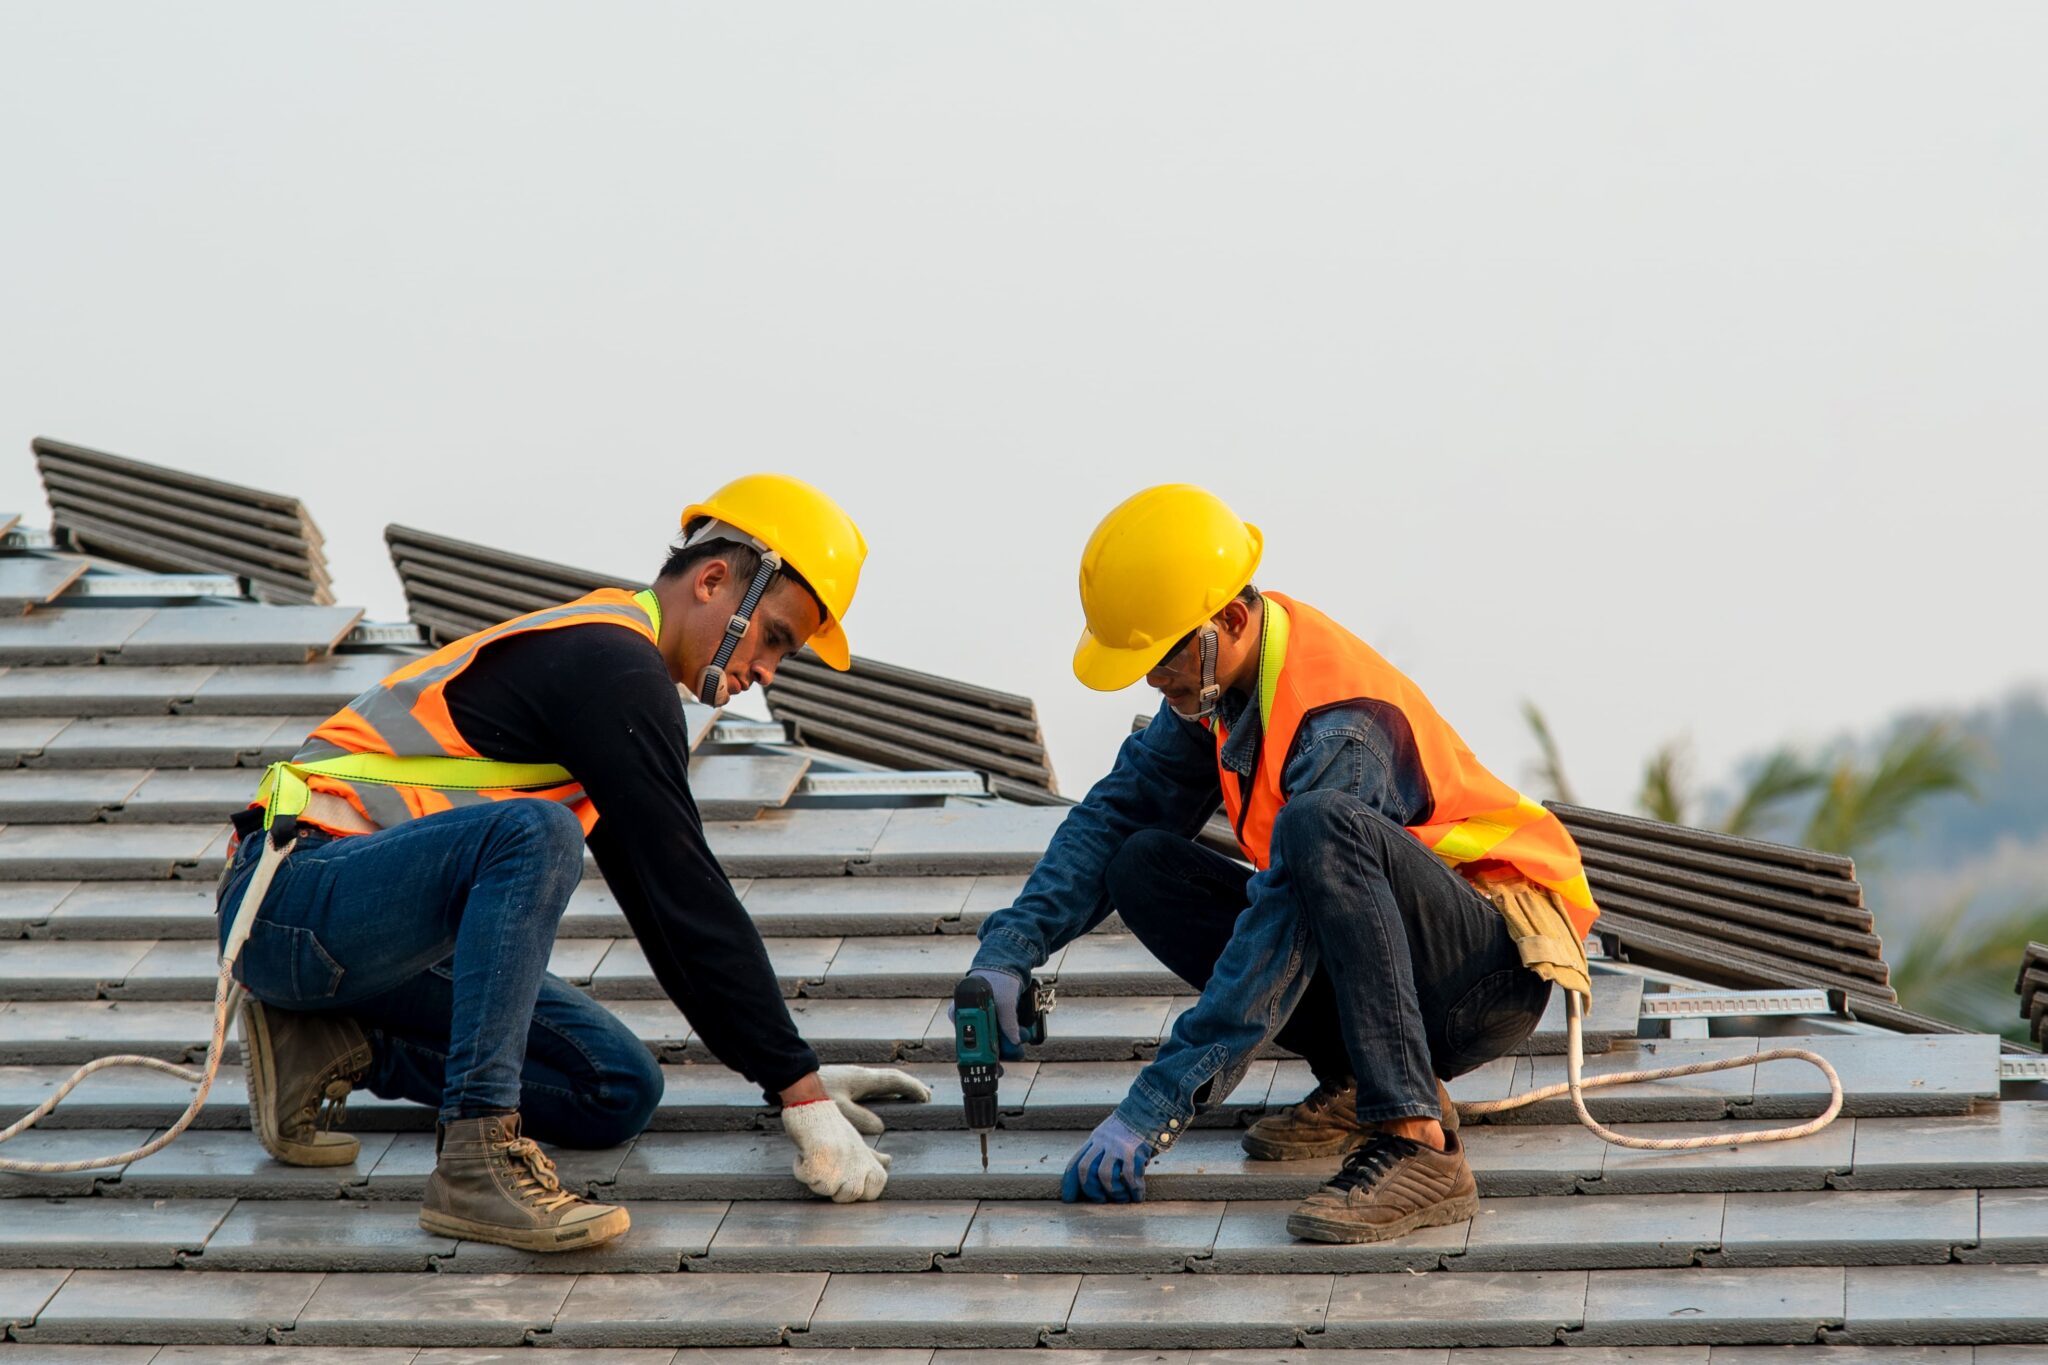
7. Install Siding, Roofing, Windows and Doors
After you complete the structure of your tiny home, you can begin installing your siding and roofing. Start by weatherproofing your home with water-resistant house wrap and tar paper before adding your roofing material and siding, finishing with a fresh coat of paint if needed. If you’re planning on adding gutters, a reflection barrier, or water and ice shields, now would be the time to install them.
Once the exterior is complete, you can work on adding your windows and doors. Start by installing the doorframes. Test out your doors to check the fit and ensure they are level before adding door knobs and locks. Install your windows based on the guidelines provided by the manufacturer, finishing by insulating around your windows for maximum efficiency.
Tip: We recommend using pre-hung doors that come ready to install, making the process easy and limiting your windows to one to two per level of your tiny home to boost efficiency!
8. Begin Rough-In for Utilities
Whether you choose to build your tiny home on or off the grid, you’ll need to complete the rough-in stage to bring modern-day mechanical, plumbing and electrical amenities in.
- Mechanical: This is typically the first step since you’ll be installing your HVAC ductwork which takes up the most space and can be harder to maneuver after plumbing and electrical.
- Plumbing: To bring water into your home, you’ll need to connect to a water source or install a water storage tank before you plan out your water lines and add gas lines.
- Electrical: If you’re building on-grid, you can connect the wiring to an existing power source by plugging it in with an extension cord. If you’re building off-grid, consider installing solar panels as your power source.
Tip: For safety precautions, if you don’t feel confident in your abilities to rough-in lines for utilities, we recommend hiring a professional. You could even save money in the long run and avoid paying for costly mistakes!
9. Insulate Your Tiny Home
To ensure your tiny home stays warm on cold nights, you’ll want to be sure to add your insulation. Considering your climate, choose from spray foam, fiberglass batt or natural wool batt insulation before installing your vapor barrier and drywall. The better the insulation, the higher the cost, but you’ll also see a greater return on your investment if you choose the more expensive option.
Tip: While it comes with a higher price tag, spray foam insulation is the recommended option for tiny homes since it’s an air sealer and vapor barrier with the highest R-value, meaning it’s the most effective at resisting heat transfer.
10. Add Appliances and Amenities
Once you install and paint drywall and add flooring, you’re ready to add in your major appliances and amenities. Start by installing switches and electrical outlets and check to make sure they work properly.
Now is the time to install your kitchen and bathroom countertops, hardware and cabinetry. Install sinks, showers, toilets and light fixtures, and stairs or ladders to access second floors or lofts. Connect your washer and dryer and install any kitchen appliances that your tiny home may need.
Tip: Instead of building your own cabinetry, save time and consider installing premade cabinets.
11. Make Your Tiny House a Home
You’re nearing the finish line! Make your tiny house a cozy home you can enjoy for years to come by incorporating furniture and décor that represents your unique style. Small space living is all about finding creative ways to do more with less and embracing minimalism.
Neutral colors are a popular pick for tiny homes since they make rooms feel larger than they actually are by reflecting light and bringing an airier feel. Add pops of color in the form of rugs or pillows and embrace nature by decorating with plants. Choose multi-purpose furniture that provides both form and function, saving space and optimizing storage.

Tip: Not sure where to start? Check out Pinterest to see how other tiny homers are decorating their small spaces to get design ideas and creative storage solutions!
Are Tiny Homes Worth It?
If you’re looking to downsize or push your creativity as a builder, tiny homes may be the perfect option for you! In addition to being cost-effective, tiny houses are also eco-friendly, using only 7% of the electricity used to power an average home. You can build on wheels for ultimate flexibility to travel or get back to the basics and opt to live off-grid. Some even choose to build tiny homes purely as a source of passive income by turning them into rental properties. The options are endless — so what are you waiting for?
As you start to build your tiny house, we can help with all of your construction site rental needs!