From the Egyptian pyramids to the first modern high-rise building, concrete has a long history in construction. Nowadays, you may see concrete in everything from simple home improvement projects to industrial construction — and sanding concrete before finishing can provide the perfect final touch. To help you create your desired look, we’ve put together this guide that will walk you through your project from start to finish. Here’s how to sand concrete.
- Step 1: Prepare the Concrete
- Step 2: Select the Correct Tool
- Step 3: Prepare the Work Area
- Step 4: Put on Protective Gear
- Step 5: Begin Sanding
- Step 6: Clean the Area
- Step 7: Apply a Finish
- What To Use To Sand Concrete
- Choosing a Concrete Finish
- Maintaining Sanded Concrete
- FAQ About Sanding Concrete
Step 1: Prepare the Concrete
The first step in sanding concrete is addressing any preparation work. This includes chiseling away any large bumps or filling in cracks and holes.
When filling in areas, use a crack filler that’s similar in color to your concrete to make your additions less visible. Remove any dust or debris from the hole so the concrete filler can properly bond to the previously poured concrete. Slightly dampen the concrete before adding the filler, then smooth the surface with a trowel. Allow the filler to completely cure (usually 24-48 hours) before moving on.
Step 2: Select the Correct Tool
Depending on your project, you’ll want to use different tools. Jump to our tool comparison section to see what tool may be best for you, or use the following rules of thumb:
- Use handheld diamond sandpaper or polishing pads for small projects like crack repairs.
- Use a handheld concrete sander or orbital sander for small or indoor projects like bathroom floors or countertops.
- Use a belt sander for larger, more aggressive projects like garage floors.
- Use a floor concrete grinder or walk-behind grinder for large outdoor spaces like patios or driveways.
Step 3: Prepare the Work Area
Once you select the appropriate tool, it’s time to prepare your work area. If you’re sanding indoors, you may want to remove all objects from the room or cover them with plastic drop cloths to shield them from the hazardous dust and debris that sanding concrete creates.
If you have a large work area, it may be helpful to divide your work area into separate zones. Work on creating the correct finish in each zone before moving on to the next.
Step 4: Put on Protective Gear
The dust emitted from sanding or cutting concrete contains harmful silica particles that can lead to lung cancer. That’s why you should wear the proper safety gear before beginning your sanding project. Wear goggles and a dust mask to avoid getting debris in your eyes or mouth. Also, keep a shop vac on hand to remove residual debris once you begin sanding.
Step 5: Begin Sanding
With the proper gear and prepped area, you can begin sanding. Start with your coarsest sanding pad — usually about 30 or 60 grit. You can sand wet or dry, but it’s typically better to sand wet. This helps contain the harmful cement dust, making it the safer option.
After your first round of sanding, clean the concrete’s surface of any dust or debris. You can use a vacuum to remove dry debris. If you have wet debris — called slurry — wipe it away with a towel or sponge.
Continue sanding with increasingly finer grits. Clean the concrete’s surface between rounds of sanding. Finish with a high grit sandpaper. Sandpapers between 200 and 400 grit will help you achieve a super smooth concrete finish.
Step 6: Clean the Area
After sanding, give your work area a good cleaning to prepare it for sealing. Vacuum or dust away any remaining debris. Rinse your area with soapy water and allow it to fully dry, which may take up to two days.
If you have mix or other waste left over, ensure you properly dispose of concrete rubble by taking it to a landfill or donating it to be recycled.
Step 7: Apply a Finish
Once your work area is dry, you can apply your finish or sealant. This will protect the concrete from wear and tear. It will also guard against spills and stains.
If you’re working indoors, open any windows to provide ventilation. Follow the instructions on your product when applying a finish. Typically, it’s best to apply using a paintbrush on corners and edges and a roller across the surface. It usually takes one to two days for a finish to completely dry.
What To Use To Sand Concrete
Choosing the proper tools can make sanding concrete easier and faster. Here’s what you need to know.
Polishing Pads
If you only need to sand a small area, you can do so manually with polishing pads or diamond sandpaper. Do not choose regular sandpaper, as it’s not hard enough to properly sand cement.
With your polishing pads or diamond sandpaper, sand your area using long strokes and uniform pressure. Begin with a coarser grit and work your way up to finer grits to create a smooth, polished finish.
- Best for: Small areas like filled cracks or holes
Handheld Concrete Sander
Handheld sanders are small electric tools that you can easily hold while sanding. They have varying speed options to help make quick work of sanding and often come with integrated water supply options. Because of their small size, they are easy to maneuver, meaning they’re helpful around corners and edges.
They work best for small horizontal surfaces like bathroom floors and countertops. Using them vertically, like on a wall, can sometimes be challenging.
- Best for: Bathroom floors, countertops
Belt Sander
Belt sanders are electric tools with a rotating loop of sandpaper. They are powerful tools that can quickly sand large amounts of concrete, making them ideal for bigger spaces like garage floors.
While these tools are great for aggressive sanding projects, they can sometimes leave sanding marks behind. Because of this, you may want to start your large sanding project with a belt sander but finish with something gentler, like a handheld concrete sander.
- Best for: Garage floors
Orbital Sander
Orbital sanders are handheld tools that move in random, circular motions while sanding. Because of this, you can use them to sand in any direction — unlike belt sanders, which you can only move forward or backward while sanding.
To sand concrete with an orbital sander, prepare your work area, then turn the machine on and use smooth circular or back-and-forth motions.
Orbital sanders work well for small projects like bathroom floors or countertops. They also work well for completing the final stages of sanding like smoothing and polishing.
- Best for: Bathroom floors, countertops
Floor Concrete Grinder
Floor concrete grinders are large, electric machines that feature rotating polishing pads. Users can walk behind these machines and push them over the surfaces they want to sand. This makes them best for large outdoor surfaces, such as driveways and patios.
Some walk-behind floor grinders have an adjustable handle that allows users to toggle between sanding and polishing.
- Best for: Driveways, patios
Choosing a Concrete Finish
Your sanding needs will differ depending on the finished look you are going for. Here are some popular styles and their required sanding.
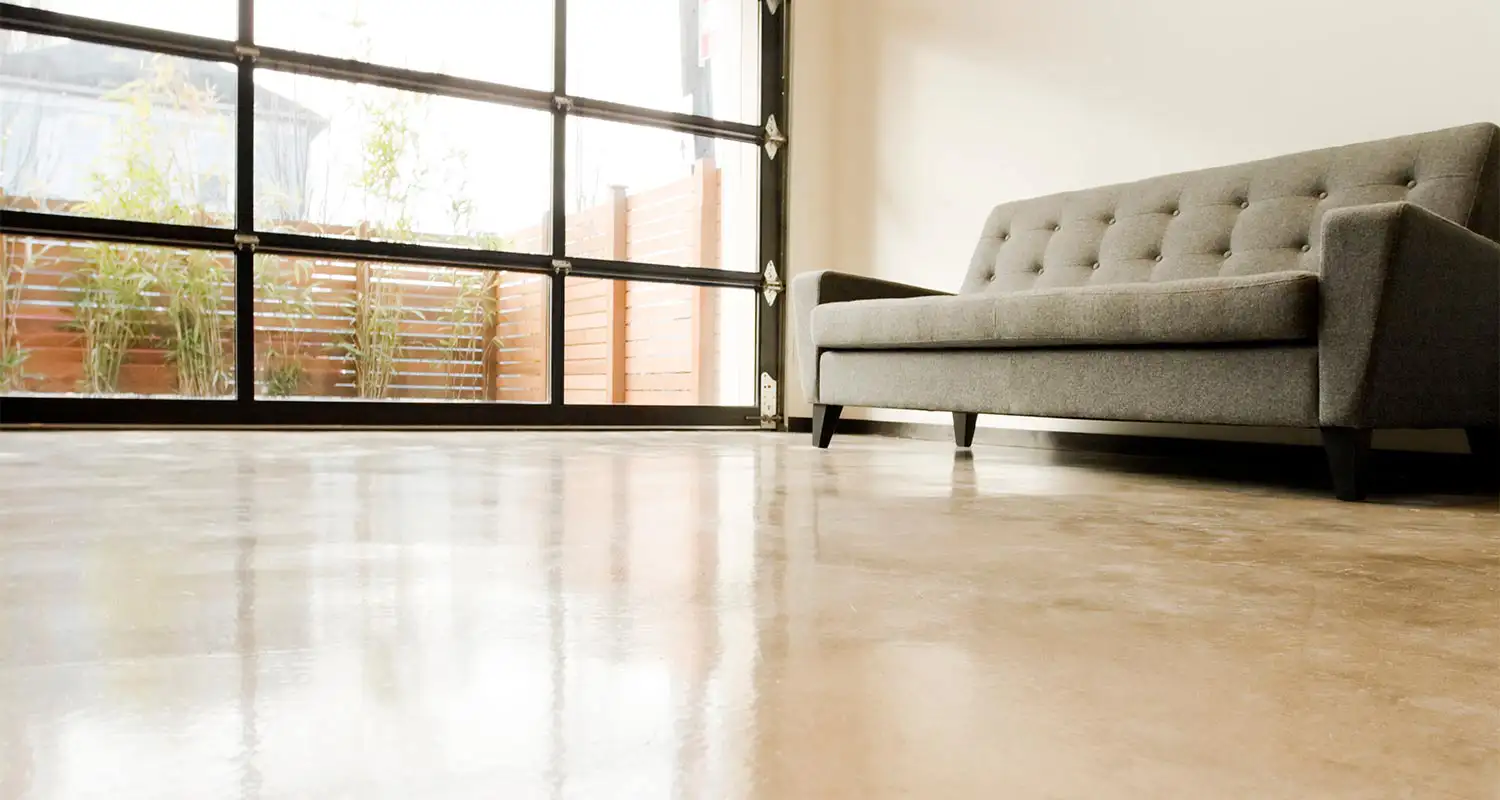
Polished Concrete

A polished finish is one of the easiest looks to achieve. This finish doesn’t require much sanding — only a quick surface sanding. The goal is simply to remove any imperfections and create a super glossy finish using a high grit sandpaper.
- Sanding required: Minimal
- Popular for: Garage floors
Stained Concrete
If you want to take polished concrete one step further, try staining it for a colorful finish. This look requires the same amount of sanding as a polished finish — just a quick sanding of the top layer. After sanding, apply a color stain before finishing with a sealant on top.
- Sanding required: Minimal
- Popular for: Home flooring
Epoxy Coating

Epoxy coatings are another finish that doesn’t require much sanding. You’ll just need to scuff sand the surface. This creates a porous surface on the concrete the epoxy can bond to. Make sure to sand deep enough to remove any paint or gloss that may already be on the concrete from a previous finish.
- Sanding required: Minimal
- Popular for: Garage floors
Salt and Pepper

With a salt and pepper finish, tiny pieces of rock or gravel within the concrete — called aggregate — are partially exposed. The exposed aggregate can look like salt and pepper, hence the name. This look requires a moderate amount of sanding to remove the top layer and begin exposing the concrete aggregate — about one-sixteenth of an inch.
- Sanding required: Moderate
- Popular for: Industrial applications, like school or mall floors
Exposed Aggregate

Exposed aggregate takes it a step further than a salt and pepper look by beginning to uncover the aggregate and fully revealing the gravel, stones and other material within the concrete. To achieve this look, quite a bit of sanding is required. You’ll need to remove about a one-quarter inch of concrete from the top, so opt for more aggressive sanding tools.
- Sanding required: Maximum
- Popular for: Driveways, patios
Maintaining Sanded Concrete
After you finish sanding and sealing your concrete, maintain it correctly to avoid damaging your hard work. Here are a few general tips to follow:
- Do not place rubber-backed mats on finished concrete. They can trap vapors emitted from the concrete, leading to a hard mineral deposit.
- Do not put potted plants directly on the finished concrete. These can also trap vapors and create mineral deposits. Instead, use a planter with legs or risers to allow proper ventilation.
- Put protective caps on all furniture legs that will sit on the concrete. This will help prevent scratches and scuffs from appearing.
- Use floor wax in high-traffic areas. This provides an extra layer of protection for your concrete.
- In the winter, use sand or cat litter for traction instead of salt. Many salts can disintegrate concrete sealants and cause damage.
- Always use a clean mop and water on finished concrete floors. For large areas, use an automatic floor scrubber.
FAQ About Sanding Concrete
Have other questions about sanding concrete? Here are the answers to some commonly asked questions.
Can You Sand Concrete?
Yes, you can sand concrete either by hand or with an electric power tool. The method you choose will depend on your desired finished look and the site’s size. For small repairs and finishing touches, you can manually sand with concrete polishing pads or diamond sandpaper. For larger areas like countertops and floors, you’ll want to use a power tool like an orbital sander.
Whether you’re sanding concrete by hand or with an electric tool, it’s best to sand wet surfaces over dry. This will reduce the amount of harmful cement dust and debris.
Why Sand Concrete?
Sanding concrete has several advantages, including:
- Rounding edges. Over time, concrete may chip, creating sharp edges. Sanding can soften these edges to create a safer surface.
- Fixing imperfections. If there are any cracks or holes present in your concrete, repair them with a concrete filler and then sand down the area. This creates a seamless blend between the previous concrete and the newly filled area.
- Preparing for a finish. If you want to add a sealant or finish to your concrete floors or countertops, you’ll first need to sand down the surface to prepare for the finish.
Can You Sand Concrete with a Belt Sander?
Yes, you can sand concrete with a belt sander. This tool can sand large areas of concrete, making it a good choice for bigger or more aggressive projects like garage floors. However, belt sanders may leave sanding marks. Because of this, it may be best to perform finishing touches like polishing with a different tool.
Can You Sand Concrete by Hand?
Yes, you can sand concrete by hand using concrete polishing pads or diamond sandpaper. Start with coarser grits — like 30 to 60 grit. Work your way up to finer grits — usually between 200 to 400.
Can You Sand Concrete with Regular Sandpaper?
No, regular sandpaper is not strong enough to sand concrete. You’ll need to use concrete polishing pads or diamond sandpaper if you aren’t sanding with an electric tool.
How Do You Get a Super Smooth Finish on Concrete?
To achieve a super smooth finish on concrete, finish with a high grit sandpaper — usually between 200 and 400 grit. You can’t start with these high grit sandpapers, so start with your coarsest grit and work your way up.
Whether you’re sanding a concrete driveway or adding the finishing touches on a commercial build, we hope our guide has provided you with the information you need.
If you’re sanding and finishing concrete as part of a commercial or residential construction project, BigRentz has general contracting equipment to make your job easier.