Backfilling is the process of putting a mixture of soil, rocks or stones back into a trench or foundation after excavation, typically to bury a pipe. Compact proper backfill to provide strong base support for construction, reducing the chance of shifting, erosion or settling.
There are few options when it comes to backfilling a trench or foundation, and we’ve broken the process down into the following four steps to help you get started.
Step 1: Pick a Backfilling Method
Before you get started, you’ll want to determine which of the four common backfilling methods your team will use based on your backfill material.

Compacting
Compacting uses heavy machinery to reduce the volume of a mass of material. Soil is added in layers and becomes compacted before you add the next layer. Repeat this process until you reach the desired thickness. In order to make informed decisions about what type of compacting equipment you should use, you must understand the soil mechanics. Vibratory plates with higher frequencies work well with granular materials, like sand, while tamping rammers with lower frequencies work well with cohesive materials, like clay and silt mixtures.
Compacting is more costly than the other methods but will prove its worth in the end, since it’s the most effective backfilling method.
Water Jetting
Water jetting compacts backfill by spraying pressurized water into the bottom of the trench. This method is recommended for granular materials, like sand and soil with little to no clay. Allowing the water to fully drain after application will improve your trench compaction.
Filling
The filling method uses a cement truck to pour flowable fill concrete straight into the trench. This flowable fill concrete is a slurry mixture made from fine aggregate, cement, water and fly ash. One thing to keep in mind when using the filling method is preventing the fill from flowing into other trench areas by containing it or blocking off certain areas.
Dumping
Most contractors prefer the dumping method because it doesn’t require additional compacting. Dumping involves filling the trench with granular material, like soil or sand, which has drawbacks since this material is porous and allows fine materials through.
Step 2: Choose Your Backfill Material
Based on your project and the method you choose, you’ll then decide which of the four common backfill materials your team will use.

Compacted Stone
Compacted stone backfill is made up of clean crushed rock or limestone, and is commonly used in paving projects like roadways since it reduces the chance of settlement.
Lean Concrete
Lean concrete, also known as controlled density fill or flowable fill, is used in the filling method. Since this backfill material doesn’t require mechanical compaction, it’s a great option for projects with narrow areas that won’t fit heavy machinery.
Compacted Soil & Uncompacted Soil
Compacted soil backfill is the material at the construction site that was excavated out of the trench — which can contain a mix of clay, dirt, sand and aggregate. It’s then added back to the trench and compacted in layers with heavy machinery.
Uncompacted soil is similar to compacted soil in that they are both excavated from the trench at the construction site. However, uncompacted soil will not be compacted with equipment when it’s added back to the trench, making it the cheapest option for backfilling.
Coarse-Grained Soil
Coarse-grained soil contains gravel, sand and fine materials. You will typically use it in home construction since it provides support for foundations when it’s compacted. The grade of the gravel and sand in these soils will impact the compaction and if saturation is needed.
Step 3: Rent Your Equipment
Now that you’ve chosen your backfill method and the material you plan on using, you’ll need to rent any construction vehicles your team will need including excavators, trenchers, loaders or compactors.

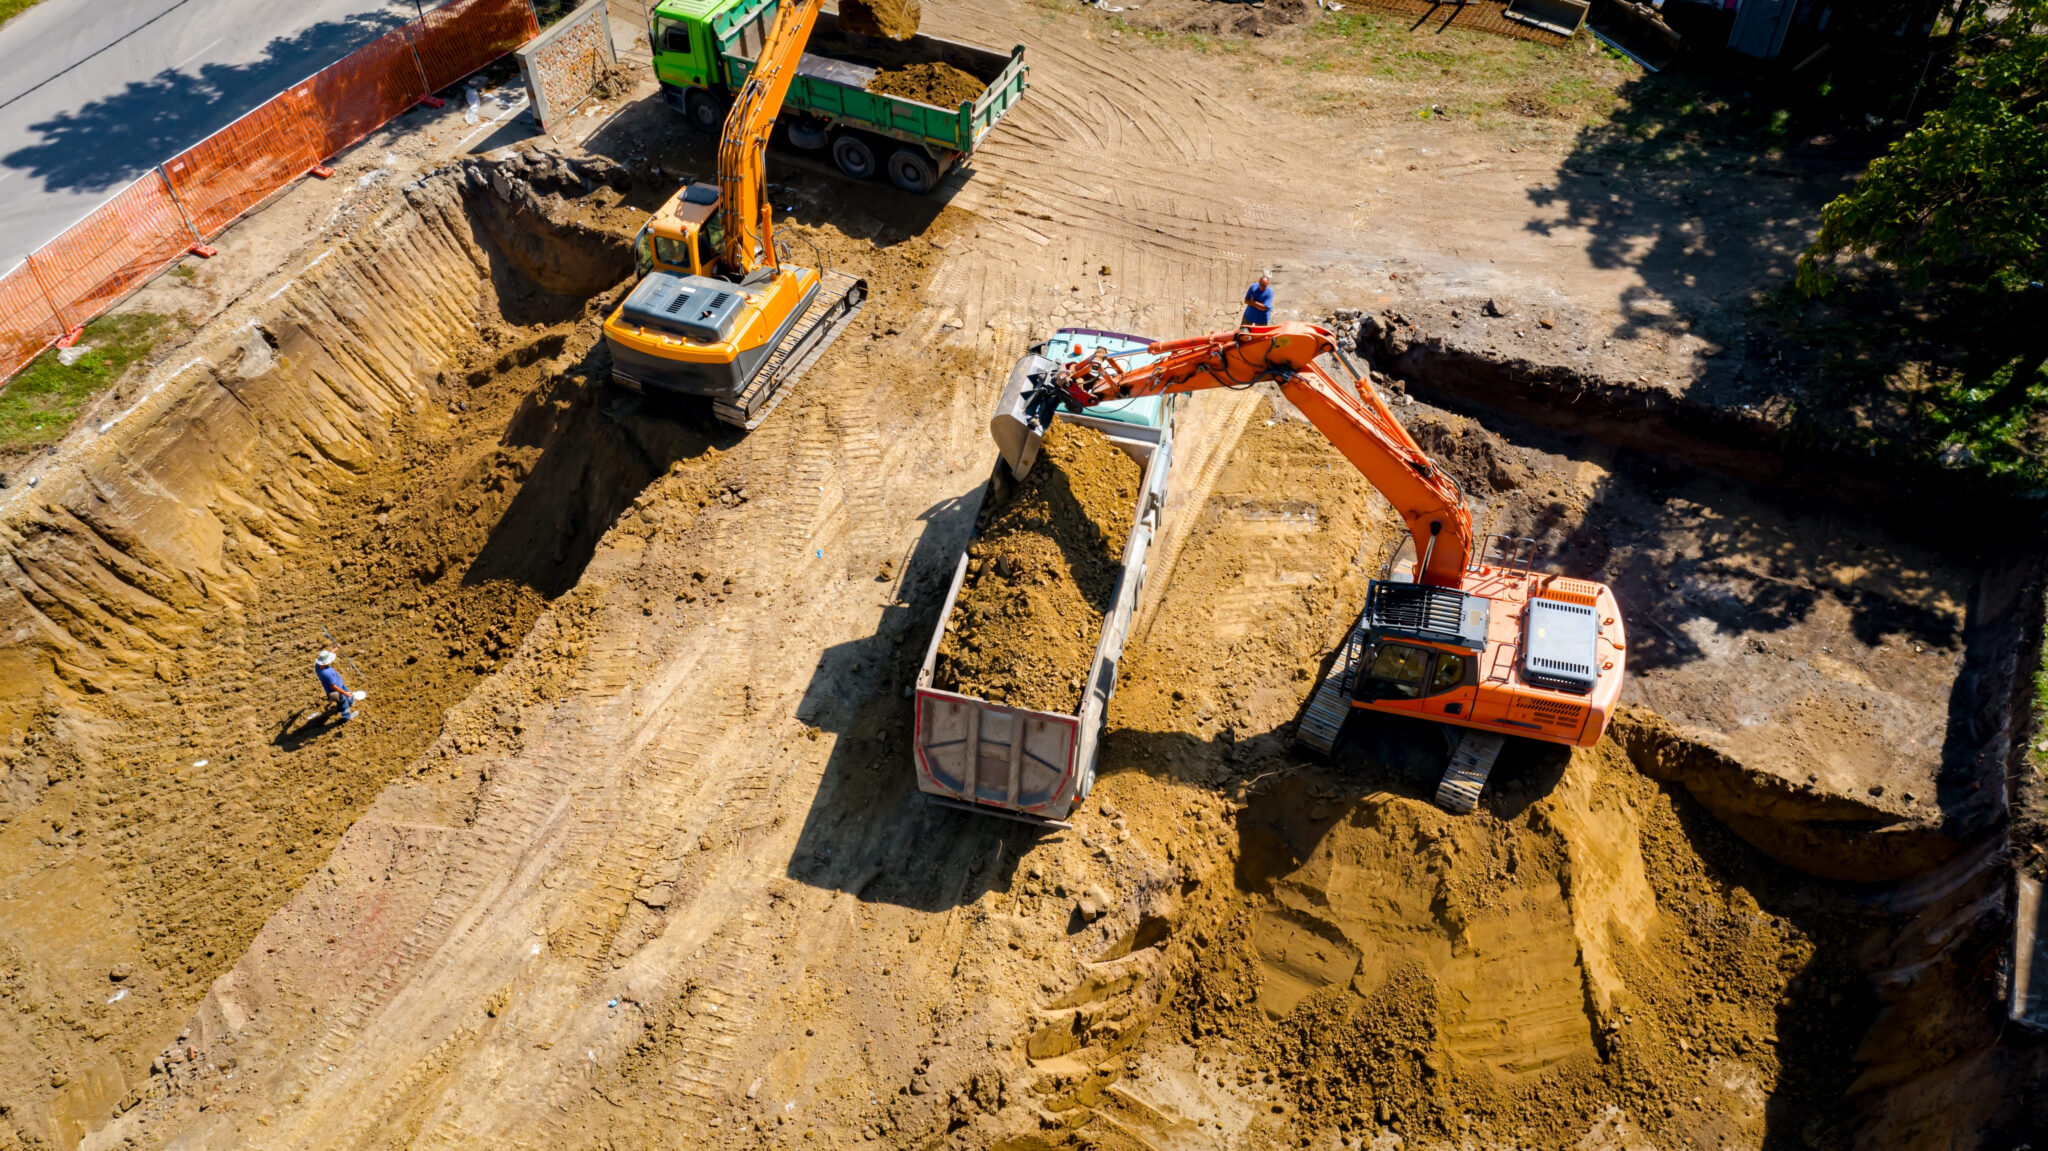
Excavators
Excavators are powerful earthmoving vehicles used for lifting heavy amounts of soil and digging trenches. These vehicles feature a rotating cab, bucket, arm and movable tracks allowing for mobility and powerful digging capabilities.
Trenchers
Designed for earthmoving, trenchers tear into the ground with their metal chain of steel teeth. Trenchers are faster than excavators at digging smooth, straight trenches, leaving you with less backfill to deal with.
Loaders
You will use loaders for transporting materials on a job site. When backfilling, a loader will move the backfill material you chose — rock, sand, soil or stone — into the trench. The type of loader you pick — backhoe loader, skid steer, bulldozer or wheel loader — depends on your project’s needs.
Compactors
Since compacting is the most common type of backfilling method, we’ll go over some of the compactors you can choose from for your backfill project. The three types of compactors are rammers, plates and rollers.
- Rammers: These compactors use the static force of a physical impact to compact, rather than vibrations. Their smaller size makes them a good choice for trenches or ditches.
- Plates: Vibratory tampers, also known as jumping jack compactors and vibrating plate contractors, rely on vibrations to compress materials like clay, sand and soil.
- Rollers: Single and double drum rollers cover larger areas and use the weight of the machine to compact materials.
Step 4: Start Backfilling

Most backfilling methods will repeat these same four steps until the backfill reaches grade level:
- Dig your trench and remove any standing water from the construction site.
- Backfill in layers of four to six inches with your chosen material.
- Compact each layer with your chosen equipment before adding the next layer.
- Finish by watering down your backfill.
Tips for Backfilling A Foundation
When backfilling a foundation, you’ll typically follow the same general steps for backfilling a standard trench. You’ll want to make sure you wait five to seven days after pouring your foundation before you start backfilling to ensure it’s fully cured, preventing cracks from occurring. It’s also recommended that you use a backfill material that contains rocks or gravel to avoid moisture retention.
Starting at the corners of your foundation, you’ll then follow the steps above, backfilling each layer with six to eight inches of material before compacting and watering. Be sure to evenly distribute each layer of material, providing lateral stability for the walls of your home.

Knowing the steps required to backfill a trench, what kind of equipment you’ll need and how long you’ll need it will allow you to make the best use of your money. If you have questions about your backfilling project or aren’t sure what equipment to choose, let us know!
BigRentz provides equipment rentals for all your backfilling needs, like our earthmoving equipment and compaction equipment.