From building a small restaurant to 10-story apartments, grading can be the difference between a successful construction project and one plagued by structural problems. But what is grading in construction anyway?
Grading is the process of reshaping land at a construction site. This can include raising or lowering ground levels, adding or removing slopes or leveling the ground surface. In general, it has two main purposes:
- Creating proper drainage
- Preparing land to bear weight
Aside from these two goals, grading will vary depending on each project’s scale and needs. Here’s what you need to know about grading, including how to create a grading plan.
Explore All Earthmoving Equipment
6 Types of Land Grading in Construction
Land grading is not a one size fits all technique. Every piece of land is different and each construction project has different needs. Sometimes, grading involves adding or removing slopes for drainage or aesthetic appeal. Oftentimes, it involves leveling the land to prepare for building construction or landscaping.

No matter the project, there’s a type of grading that can help. Here are six of the most common types of land grading.
1. Regrading
Regrading involves raising or lowering the land’s level. This can be beneficial for small projects like yards to create proper drainage and prevent damage from pooling. It can also benefit large projects like commercial real estate construction to ensure all facilities lay on the same level.
2. Landscape Grading
Landscape grading reshapes the land to prepare for specific elements like grass, planters or water fixtures. This often involves removing the topsoil, installing irrigation and leveling or sloping the land to facilitate water drainage.
Whether you level or slope land depends on the project’s needs. When laying grass, for example, leveling the yard is necessary to prevent pooling. Pooled water can damage grass, attract mosquitos and leak into your home causing structural damage over time. This is one reason landscape grading often also involves creating slopes that carry excess water away from the home.
3. Architectural Grading
Architectural grading involves reshaping the land in preparation for home or construction builds. This can include leveling the construction zone, digging a level hole for the foundation, removing unwanted elevations or reshaping the land for drainage elements.
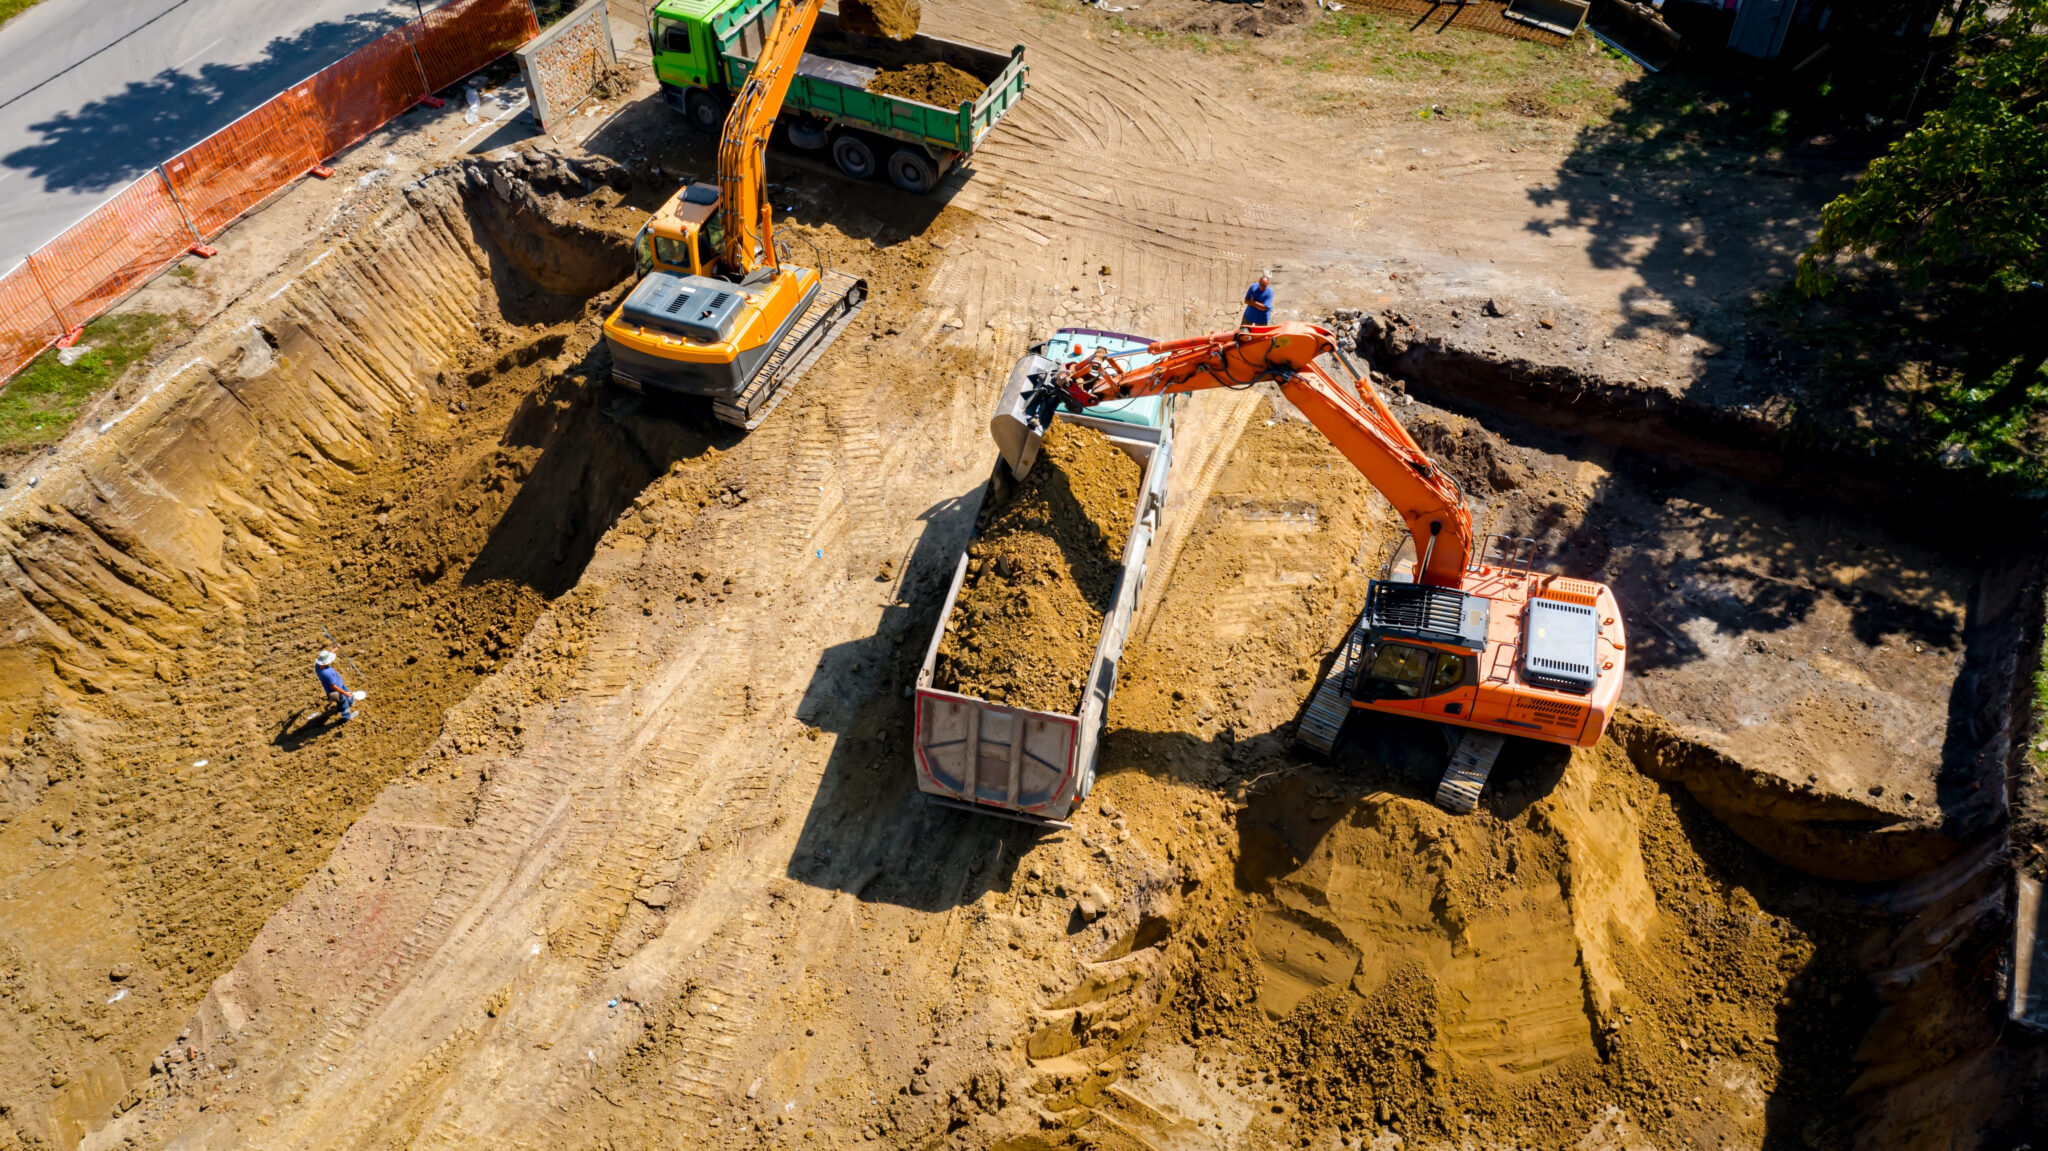
4. Rough Grading
Rough grading involves creating the basic shapes and elevations of a grading project. This may involve heavy machinery like mini excavators to remove large portions of land on unwanted elevations. It can also include adding topsoil where needed to create a level top layer.
5. Finished Grading
After rough grading, finished grading establishes the final shapes and elevations of the project. In landscaping, this means preparing for planting. In construction, this can mean preparing to lay gravel. Finished grading also helps provide a smooth surface by removing any rocks and debris from the topsoil.
6. Final Grade
In landscaping projects, final grade is the last step in the grading process where you will place sand or topsoil that promotes growth on top. After this step, workers can begin seeding the area.
Benefits of Construction Grading
Land grading comes with several benefits — not just for your construction site but for neighboring properties as well. Here are just a few:
- Proper drainage: Grading can help prevent pooling that can damage grass or attract mosquitos. It also prevents water from running into your building or neighboring buildings, avoiding expensive structural damage — especially in the case of neighboring buildings, which can cause liability issues.
- Make use of all the land: Land can be expensive, so it’s important to use every bit of land you can. Slopes can cause large portions of the land to become unusable. For example, a large backyard can seem small if it’s on a slope that prevents building a patio or other landscaping features.
- Prevent future construction issues: Like painters taping off edges before painting a wall, construction workers use grading to prepare sites and prevent future issues. Laying a foundation on unlevel ground, for example, would prove a costly mistake.

Creating a Grading Plan
Because improper grading can cause expensive issues for the construction site and neighboring properties, many zoning jurisdictions require approved grading plans before construction can start.
Civil engineers create grading plans that outline the proposed land reshaping, as well as other important information, including:
- Name and address of property owner or development company
- The project’s intended purpose
- Existing trees, utility lines, structures or other features of interest
- Property lines or building envelopes
- Existing and proposed land contours
- Proposed grading volume as well as grading boundaries
- Existing and proposed drainage features
- An erosion control plan
Once zoning officials approve the grading blueprints, construction can begin.
How to Develop a Grading Strategy
The first step in developing a grading strategy is completing a topographic survey of the land. This provides baseline information including the land’s existing grades, the soil composition and any pertinent information about flooding or seismic activity.
Following a topographic survey, a civil engineer will develop a grading plan. This plan outlines how to reshape the land to create proper drainage and bear structures.
Grading strategies will depend on local laws, the project’s needs, the land’s shape and the desired outcome. While every project will have its own strategy, here are some common rules of thumb engineers follow:
- Compact weight bearing soil to at least 95%
- Parking lot slopes shouldn’t exceed 5%
- Main access drives shouldn’t slope more than 8%
- Asphalt should slope a minimum of 1.5%
- Concrete areas and curbs should slope a minimum of .75%
- Stabilized landscapes shouldn’t slope more than 2:1
- Retaining walls or other stabilizing features accompany slopes greater than 2:1
- From the top of the foundation wall to the top of the surrounding grade, allow .15m of exposed foundation wall
Following these rules helps create a stable ground for construction sites that follow proper drainage requirements.
How To Read a Grading Plan
At first sight, a grading plan may appear complicated and technical. However, if you understand the basic features of a grading plan, it becomes simple to understand.

Basic grading plans will include:
- Contour lines, which depict the site’s existing topography (usually in 2 feet elevation changes).
- The property line to show the plot’s boundaries.
- The proposed structure, or the architectural plan.
- Existing structures, which show roads, buildings or other existing features of interest.
- Existing utilities that show storm drainage or other existing utilities of interest.
- Existing grades, showing the land’s existing elevation (in feet above sea level).
- The proposed grades to show the plan’s grading designed to create positive drainage away from the building.
- Drainage slopes, depicting the direction water will run and tells the slope percentage.
When reading a grading plan, the main goal is to make sure positive drainage exists, meaning water will run off away from the proposed structure.
How to Get Your Grading Plan Approved
Getting a grading plan approved will vary based on city laws and procedures. In general, the first step is submitting a grading plan to the local city office. The city will then review grading plans based on factors like:
- Lot size and structure coverage percentage. Some cities have laws dictating how much of the lot a structure can cover.
- Earthwork estimates for cut and fill work. These numbers help city officials understand the size and scope of the project.
- Property lines. City officials need to confirm all construction will happen within proper boundaries.
- Utility lines. If grading interferes with existing gas, sewage or other utility lines, city officials will request changes to the plan.
Once city officials approve a grading plan, the next step is usually applying for a grading permit.
Get Started on Your Site Grading Project
After receiving the necessary permits, construction can begin. To make the grading process as quick and easy as possible, be sure to use the proper equipment. Some of the best equipment for grading includes:
- Motor graders that level surfaces for roadwork or create drainage ditches.
- Rototillers to help level land for landscaping.
- Bulldozers, which can remove or quickly redistribute large amounts of soil.
- Wheel tractor scrapers for leveling surfaces as well as hauling and dumping material.
- Skid steer loaders that help rough and finish grading.
If you don’t already own these, renting landscaping equipment can be a cost-effective option.
So, what is grading in construction? To put it simply, it’s reshaping the land to create proper drainage and foundations ready to bear weight. By choosing the right equipment for the job, you can make the grading process quicker and easier.