Building a new home is an exciting time — although it can sometimes feel overwhelming. Keeping track of who to hire and when, timelines, permits, inspections and more is a big job. That’s why we’ve simplified the process with our home building checklist.
In this article, we’ll walk you through the steps to building a house. Checklists accompany each step with simple bite-sized tasks to help make building a home a more manageable project.
We hope this checklist for building a home can reduce stress on your end so you can spend less time feeling overwhelmed and more time feeling prepared!
- Secure Financing
- Purchase Land
- Design the Build
- Plan a Timeline
- Hire a Building Team
- Buy Materials
- Prepare the Site and Lay the Foundation
- Frame the Build
- Build the Home’s Exterior
- Install Plumbing, Electrical and HVAC
- Add Insulation
- Hang Drywall and Paint
- Finish the Interior
- Incorporate Personal Touches
- Perform the Final Walkthrough and Cleanup
1. Secure Financing
As of July 2022, the average cost range to build a home is between $110,665 and $452,218. This means home builders will most likely need to secure outside financing before the home building project can even begin.

One of the most common options is a construction loan. This is a short-term loan that only covers the cost of building. Prospective homeowners can carry this type of loan themselves by qualifying with participating banks. Sometimes, if a homeowner has a large enough deposit, the building company can carry the loan instead.
After the construction period ends, homeowners will still need to finance the house either with cash or an additional long-term mortgage.
Checklist Before Closing a Loan:
- Have a credit score that’s usually at least 680
- Provide income verification documents
- Create a specifications sheet for the project
- Review loan documents
- Submit loan documents
2. Purchase Land
Once financing is secured, the next step is to purchase the land. Sometimes, prospective homeowners can buy land directly from their building company. Otherwise, they will need to buy on the open market. Because there are several special considerations when buying land versus buying a home, it’s a good idea to work with a real estate agent experienced in buying and selling land.
After purchasing your plot, you can begin clearing the land of any overgrowth or problematic trees in preparation for construction.
Checklist for Purchasing Land:
- Perform a land survey to find its boundaries
- Conduct a title search to confirm the legal owner
- Get title insurance as a financial safeguard
- Hire a soil engineer to perform a septic system soil test
- Check zoning — can the land be used for residential? Is it a historic site?
- Determine if an HOA governs the land
- See if the land is located in a flood zone
- Check school districts
- Confirm that utilities can service the land
3. Design the Build
After purchasing land, it’s time to design the home. This can be a quick process for those working with builders — since it’s often a matter of choosing between a few model home options. For those building their new home entirely custom, now’s the time to hire an architect. Architects create floor plan blueprints based on your vision.
For those who don’t mind losing a little control over the floorplan design and want to save some money, buying pre-drawn floor plans online may be a good option.
Checklist for Designing the Build:
- Hire an architect or purchase pre-drawn floor plans
- See if there are zoning/neighborhood code limits on home sizes
- Make sure your design has enough space for future plans (like children)
4. Plan a Timeline
It’s common for construction to take longer than planned, so don’t be too strict with timelines and allow for some leeway. However, a lack of planning can slow things down even further so it’s a good idea to have a general plan.
Here’s a sample timeline to show how long each step of the process may take:
- Pre-construction (weeks to months): Obtain permits, submit plans to any governing HOA bodies and install a septic system.
- Foundation (weeks one to four): Pour foundation and get a foundation inspection.
- Framing floor, walls and roof (weeks five to seven): Frame all stories and install exterior finishes.
- Internal components and drywall (weeks eight to 12): Hire an electrician, plumber and HVAC specialist before adding insulation and drywall.
- Interior finishes (weeks 13 to 17): Paint, install floors, add cabinetry and hang doors.
- Finishing touches (weeks 18 to 20): Install light fixtures and appliances, finishing with landscaping.

If you have any restrictions, like needing to finish before a harsh winter, keep these in mind while planning your timeline.
Ready to get started? Stay organized by using our free construction schedule template in tandem with this checklist for building a new house.
Checklist for Your Home Build Timeline:
- If working with restrictions, are time limitations written into the building contract?
- Is there a backup plan in case you need to extend the timeline?
5. Hire a Building Team
Prospective homeowners who haven’t already been working with a building company should begin assembling their own team now. A home building team usually consists of:
- A general contractor who will oversee and manage the construction project
- An electrician
- A plumber
- An HVAC specialist
- Architects or designers to create or adjust original blueprints if necessary
- Inspectors
It’s not necessary to hire all these workers at once. Electricians won’t be needed until the framing is complete, for example. Just keep in mind that not having workers at the appropriate times can slow down your timeline.

Checklist for Hiring Your Build Team:
- Check worker references
- Check that all workers are licensed and bonded to avoid liability
- Ask if the workers guarantee their work. If so, for how long?
- Get written estimates
6. Buy Materials
Usually, general contractors will manage buying materials for the build. They usually already have relationships with different material suppliers and often get better rates.
However, for prospective homeowners who’d like to purchase their home materials themselves, the process is fairly straightforward.
Simply submit materials estimates to several supply companies in the area and compare their prices. You can find your materials estimates by consulting your construction blueprints and doing a bit of math.
Before materials begin arriving, purchase builder’s risk insurance. This insurance covers buildings under construction from threats like fire, hail, vandalism and theft. By having it in place, homeowners can be compensated for stolen or damaged materials.
Checklist for Buying Materials:
- Choose three reputable building supply firms
- Submit materials estimates to each
- Negotiate if estimations that come back vary from the original estimates
- Decide on the building supply firm with the best price and service
- Purchase builder’s risk insurance
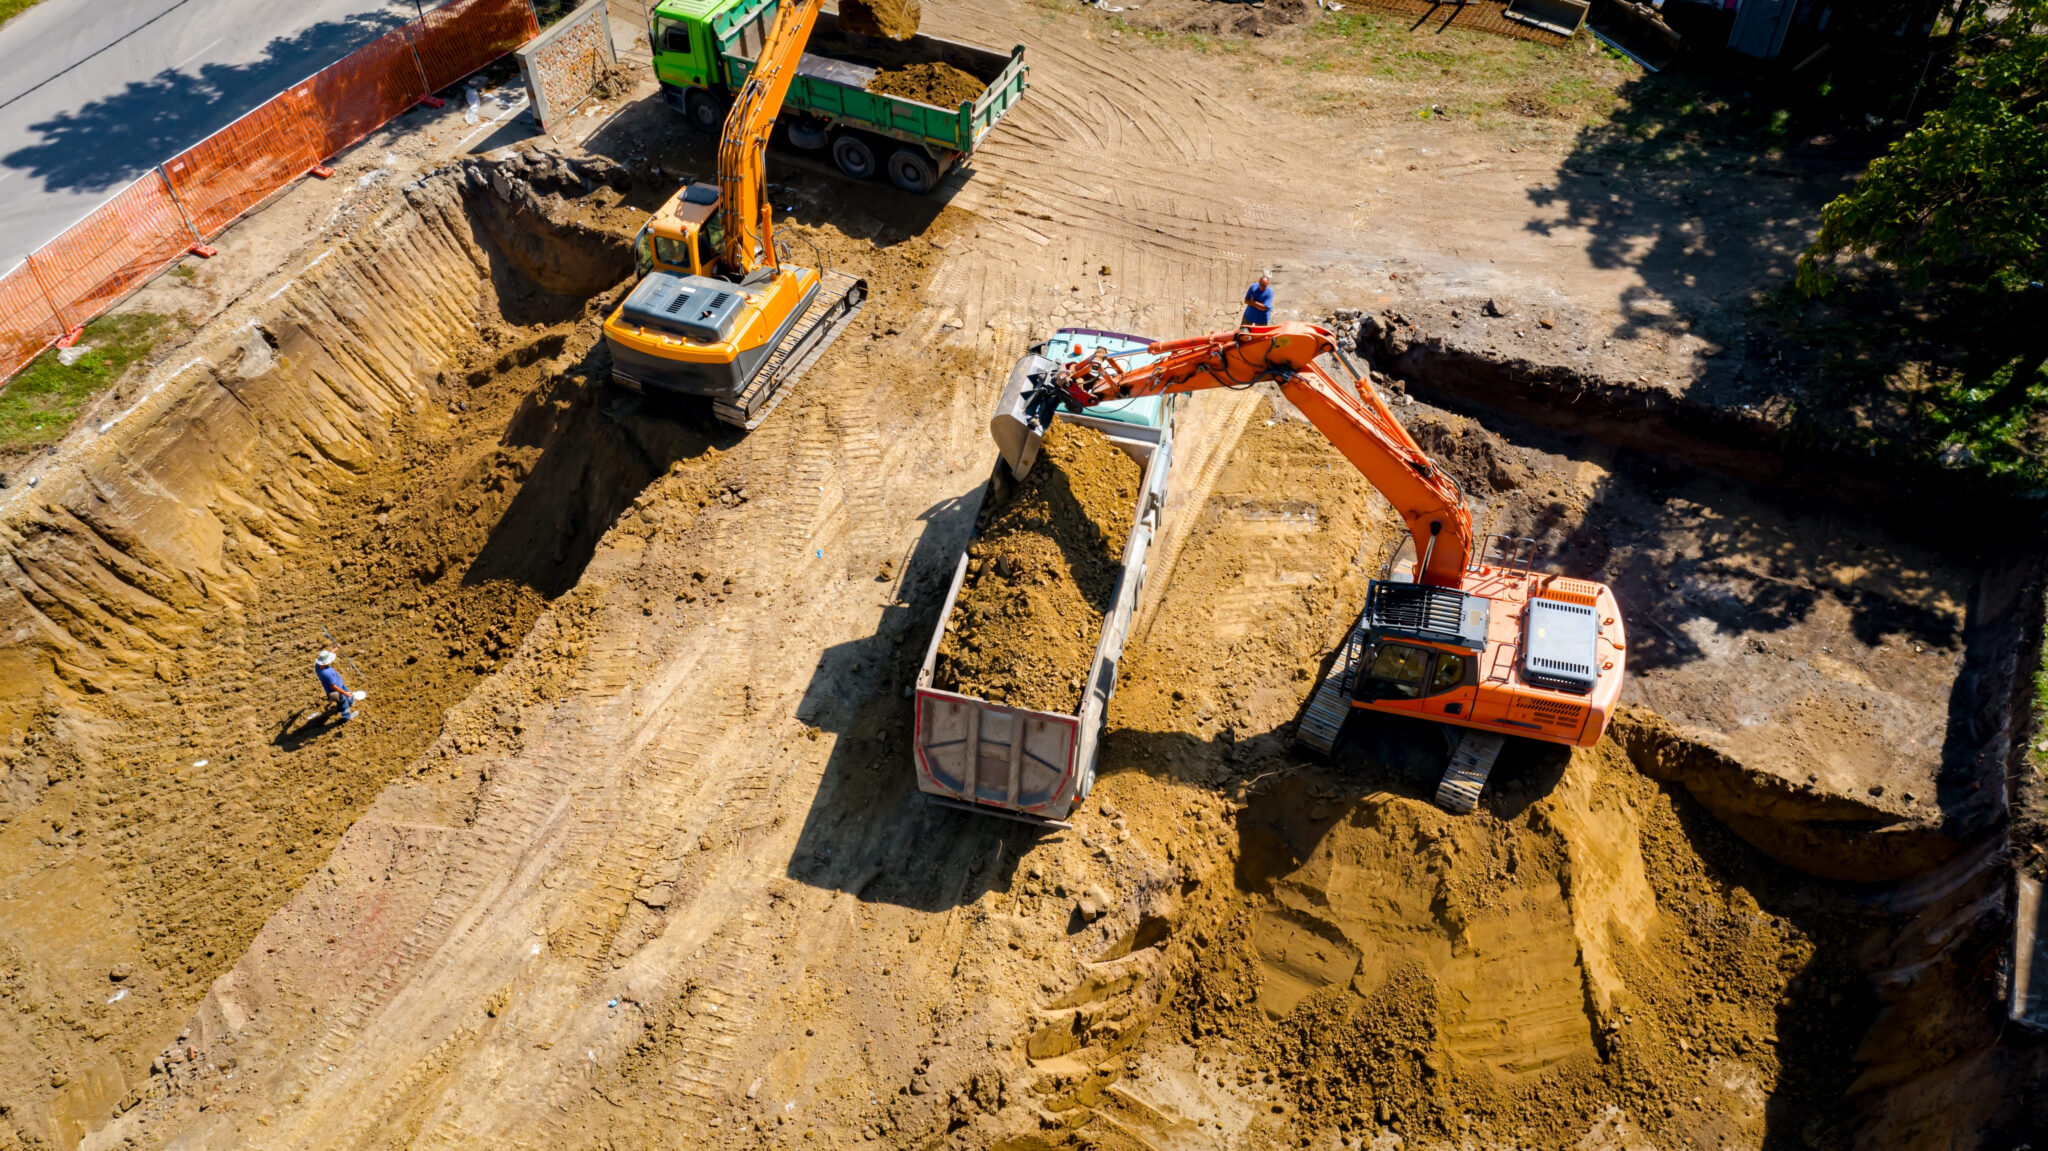
7. Prepare the Site and Lay Foundation
Building can almost begin! The next step is obtaining all necessary permits, like a demolition permit. Work cannot begin without the proper permits.
After obtaining the necessary permits, the first building step is preparing the site ground. Demolition can begin by removing unnecessary structures. Grading will provide a level ground for the home’s foundation and create positive drainage slopes away from the property to prevent future water damage.
Once the site has been appropriately graded, the foundation can be poured. After pouring the foundation, get a foundation inspection to ensure there are no potential problems.
Checklist for Site Preparation and Laying the Foundation:
- Perform necessary demolition (with required permits)
- Grade the land
- Cut the driveway
- Pour foundation/basement
- Pre-treat for termites
- Pass a foundation inspection
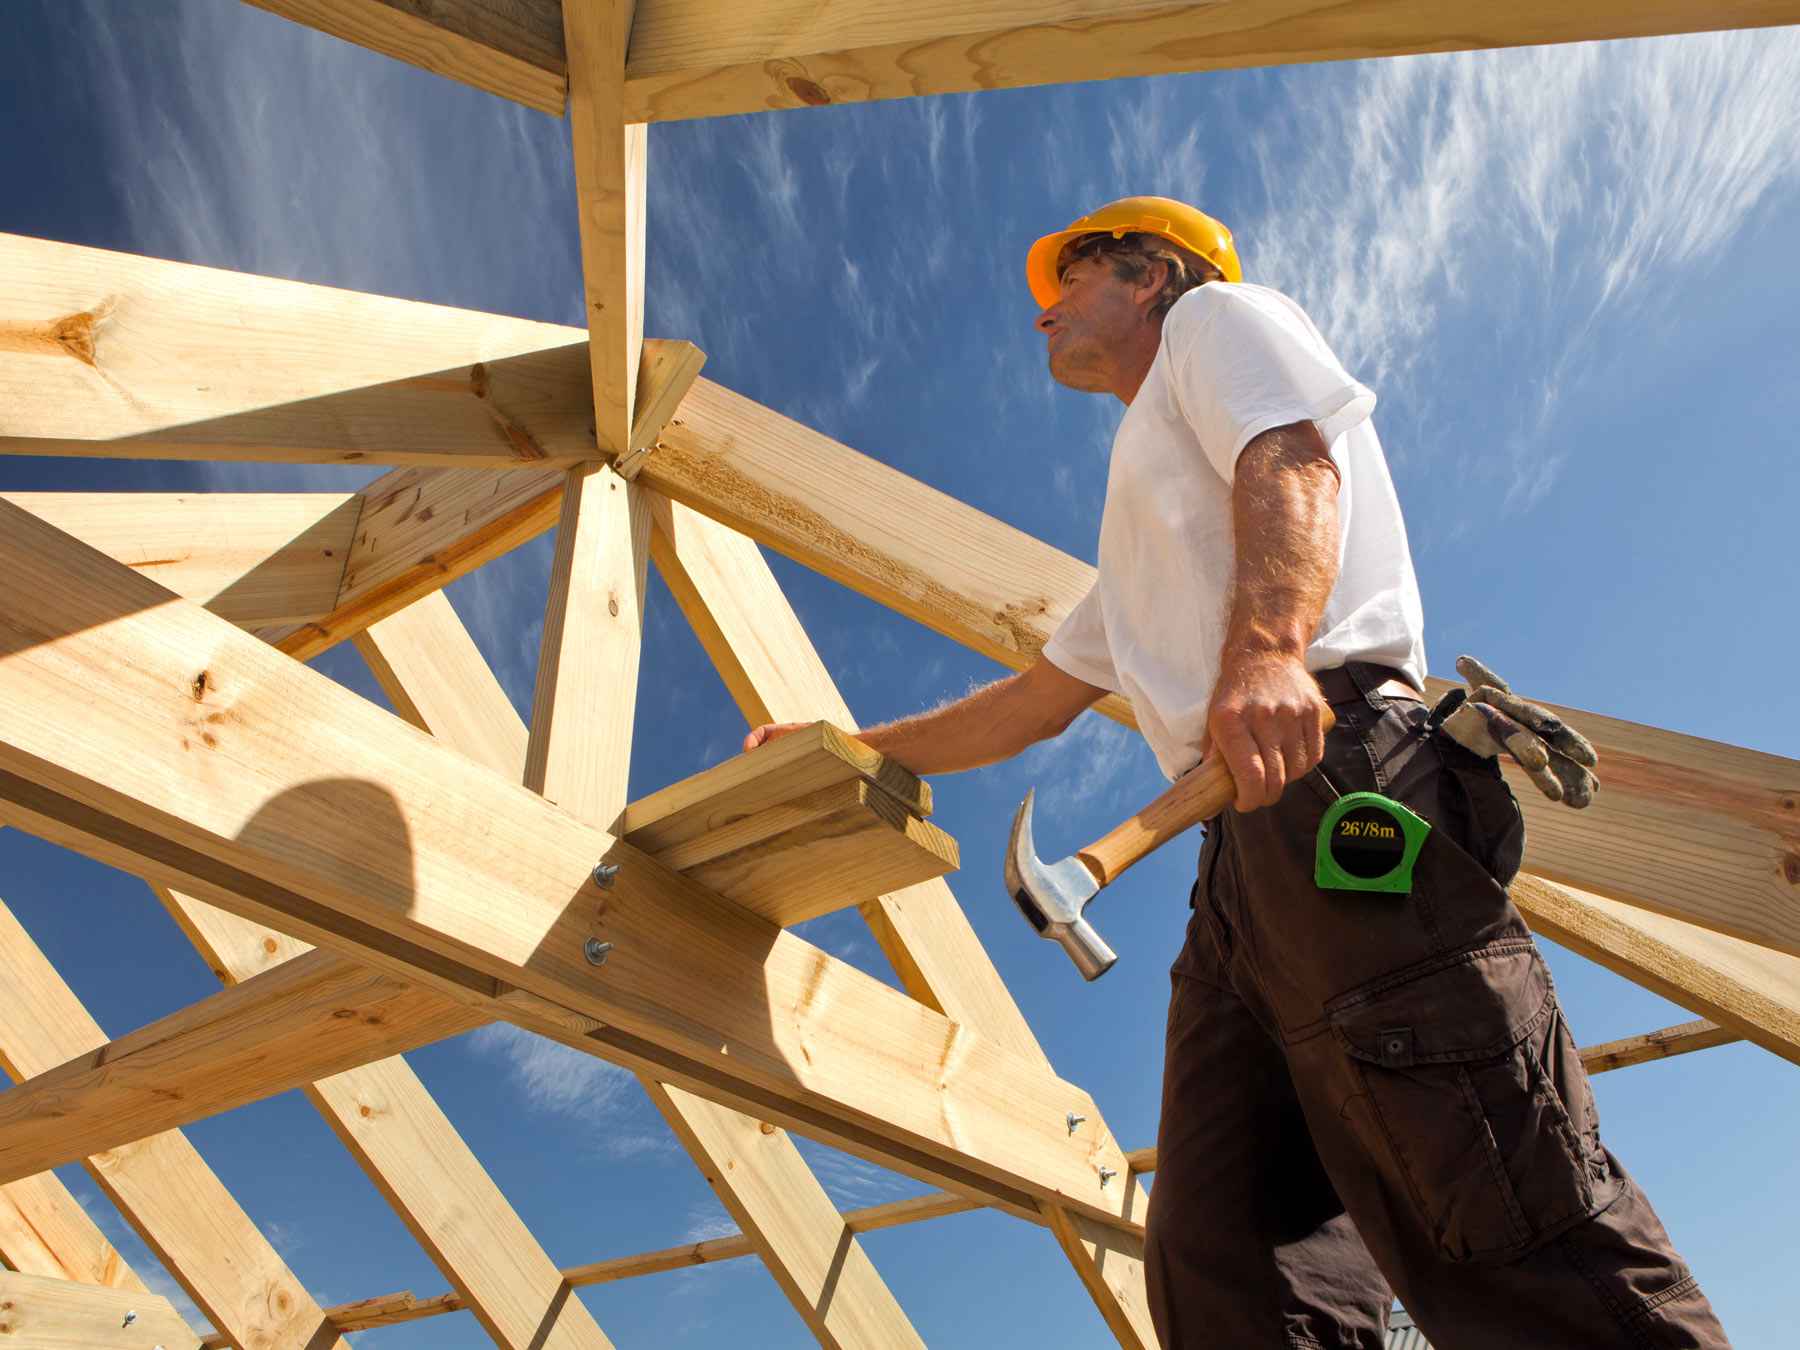
8. Frame the Build
With a level and squared-off foundation, framing can begin. This is where the home starts to come to life! Subcontractors begin building the home’s shape by framing each story’s subfloor, walls and partitions.
Next, subcontractors will add wall sheathing to prevent walls from bending or swaying, as well as to keep moisture out. Siding will also eventually get nailed to this base.
After framing is complete, the build must pass a framing inspection to ensure the home’s structural integrity. With a passed inspection, workers can begin adding doors and windows to the home’s frame.
Checklist for Framing:
- Ensure the foundation is level and square
- Have framing materials delivered
- Frame basement, walls, and beams
- Frame subfloor, walls and partitions of each floor, beginning with the ground floor
- Hang wall sheathing
- Frame ceiling joists
- Frame rafters and trusses
- Add roof sheathing
- Pass a framing inspection
- Install doors and windows
- Measure for cabinetry
9. Build the Home’s Exterior
After passing a framing inspection, subcontractors will begin finishing the home’s exterior. In this phase, workers install the siding and trim, complete brick or stone masonry if needed, shingle the roof, install gutters, finish hanging doors and windows, install the garage doors and paint or stain the home’s exterior.
Checklist for Finishing the Exterior:
- Deliver siding, trim and any windows or doors not completed in framing
- Install fireplace (if applicable)
- Install brick or stone (if applicable)
- Install doors and windows not completed in framing
- Shingle the roof
- Install gutters
- Install siding
- Install garage doors
- Paint/stain exterior
10. Install Plumbing, Electrical and HVAC
When it comes to working on the home’s interior, the first step is installing necessities like plumbing, electrical and HVAC systems (heating, ventilation and air conditioning). Workers will wire the home, install vents and route water supply and sewer lines.
For homeowners who purchased bathtubs or other large plumbing items, now’s when these items are installed. Specialty wiring — like for an entertainment system — will also get installed in this step.
Before installing heating and cooling systems, homeowners should take floor plans to the power company to confirm what size system is needed. Smaller systems are more efficient. Those building a larger home may consider installing multiple smaller systems rather than one large one.
Checklist for Plumbing, Electrical, Heating and Cooling:
- Install piping
- Take floorplan to a power company to confirm the size of heating and cooling system
- Install the heating and cooling system
- Consult a power company to see how much amp power you need
- Install wiring
- Only pay for services upon completion
11. Add Insulation
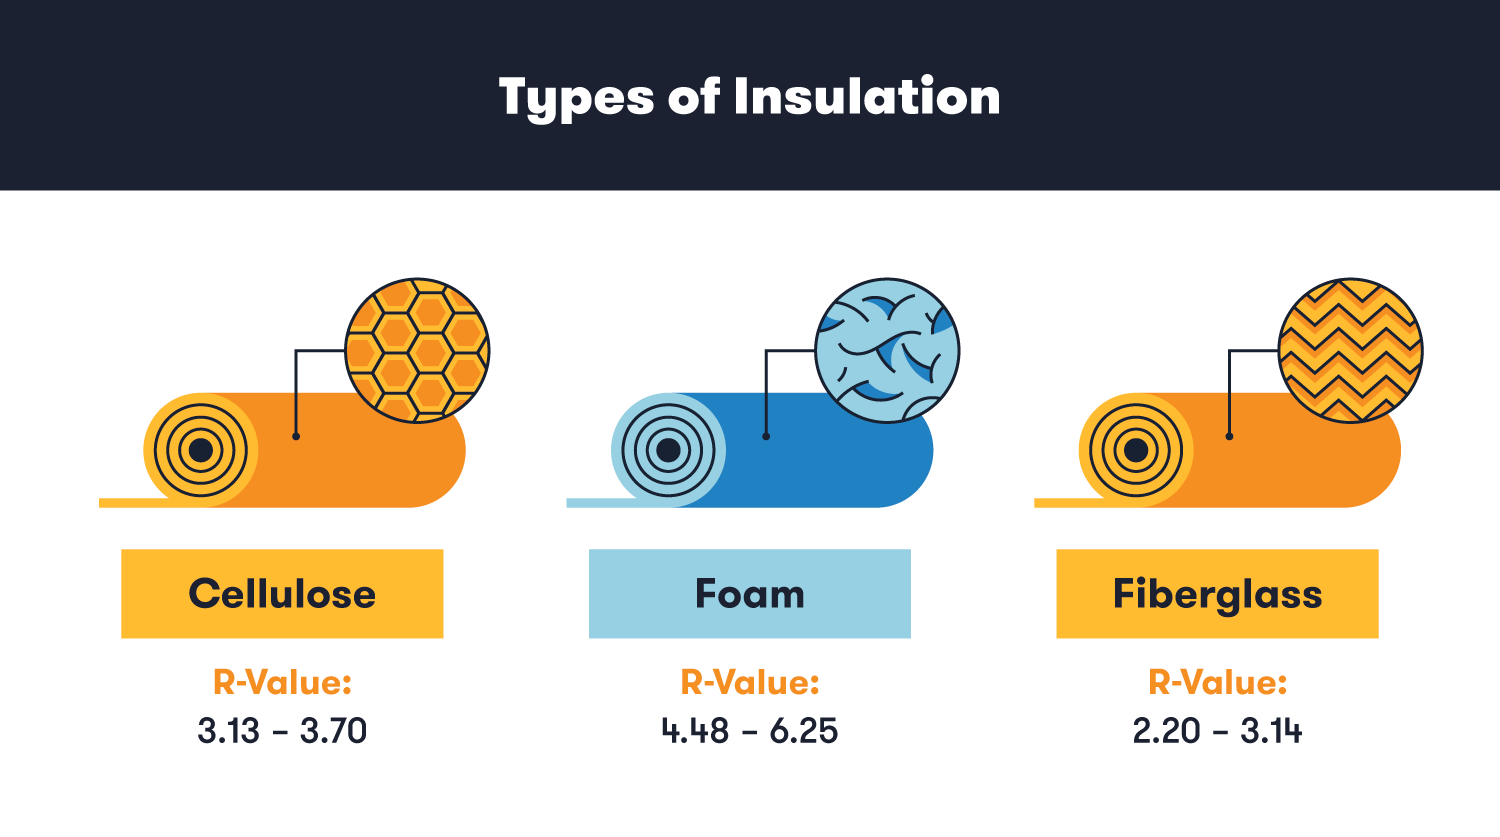
Insulation is vital for maintaining a comfortable temperature within a home. It will also impact how energy efficient the home is. There are several different types of insulation, but cellulose, foam and fiberglass are popular options.
The type of insulation you need will depend on where it will be located — wall, ceiling, etc. — and the recommended R-values for your city. R-values describe how well the insulation will keep or lose heat. Your power company can advise you on what R-value they recommend for your home.
Checklist for Insulation:
- Consult a power company to choose R-value and see how much insulation you need
- If using blow-in insulation, don’t block soffit vents
12. Hang Drywall and Paint
With all electric, plumbing, heating, cooling and insulation installed, subcontractors will begin closing up the walls. They will hang drywall and add any requested texturing to the walls. Homeowners who want to stipple the ceiling should do so before painting.
After adding any texture, workers will begin painting or wallpapering the walls. At this point, it’s also a good idea to give the home’s interior a good cleaning. This will make installing finishing items like cabinetry or flooring easier without debris in the way.
Checklist for Hanging Drywall:
- Hang drywall — half-inch drywall is recommended for 16-inch on-center studs
- If stippling ceilings, do so before painting
- Paint or add wallpaper
- Clean up
13. Finish the Interior
With the walls completed, subcontractors will continue finishing the interior. This includes laying down flooring such as carpeting, vinyl planking, tile or wood. It also includes installing baseboards, which should allow a half-inch space between the flooring and the wall.
Cabinetry also goes up in this stage. If your building team does not include cabinetry installation as part of your contract, you may need to hire a carpenter. After installing trim for cabinetry, be sure to use a stain or paint-grade trim.
Add caulking around windows, door trims and anywhere at risk of water damage like around showers or tubs. If there’s any remaining plumbing, electrical or heating work that needs to be done, call back your specialists.
While it can be tempting to bring appliances like a fridge into the home now, utilities aren’t usually on at this point — so consider waiting. However, if you prefer to install appliances now without hooking them up, you can.
Checklist To Finish the Interior:
- Hire a carpenter to install cabinetry
- Use stain or paint grade trim
- Allow ½ inch space under the baseboard to allow for flooring
- Add caulking around windows, door trims and anywhere at risk of water damage
- Call back plumbing, electrical and heating for any final work
14. Incorporate Personal Touches
At this point, the home is essentially complete. All that’s left are the finishing touches! So, hang mirrors, install curtain rods, towel racks, toilet roll holders and any other hardware according to your personal taste.
This is also the time to work on any landscaping. Pour the driveway and any walkways, patios, or vegetation you like. Now is the time to bring your vision to life!
Checklist of Personal Touches:
- Install mirrors
- Install bath accessories like towel racks or toilet roll holders
- Install curtain rods
- Add landscaping
- Pour driveway and walkways
- Add patio (if applicable)
15. Perform the Final Walkthrough and Cleanup
One of the most exciting parts of building a new home is the final walkthrough. As the homeowner, you’ll get to walk through the completed build and make sure everything is up to par. If you notice anything wrong, like a drawer that sticks, don’t be afraid to ask your building team to fix it.
After the final walkthrough, give your home a good clean — the next step is moving in! It’s easier to clean before moving in furniture like bed sets that can block large areas.
You can also call your utility companies to turn on the power, sewage, gas and water after your final walkthrough. If you want additional services like trash removal, internet, cable or security systems, now is the time to do so. With the utilities turned on, you can now install appliances like a refrigerator or oven if you haven’t already.
Checklist for Final Walkthrough and Cleanup:
- Address any nicks, dents or imperfections
- Homeowner’s final inspection
- Check doors, windows and drawers open and close freely without sticking
- Check there are no cracks in the drywall or countertops
- Turn on utilities
- Install refrigerator, oven, microwave and other appliances (if not done yet)
- Move in
Building a new home is an exciting time — although it can sometimes feel stressful. We hope our home building checklist can make the process more manageable for you, so you can spend less time stressing and more time enjoying your new home.
Make the process even easier by visiting our one-stop shop for general contracting equipment you may need to rent for your project.