Before construction can begin, you’ve got to prepare your site. That includes breaking up the land, grading, leveling, demolition, and more. If you follow the proper site preparation methods, you can ensure that the construction project goes smoother, which is why this is such an important phase.
This guide describes site preparation, from the construction activities to the type of equipment you may need, to help keep everyone on the site safe during construction.
What Is Site Preparation?
Site preparation refers to the multistep construction process of all the prep work you do prior to construction on a site. It can involve site surveying, grading, leveling, clearing land, drainage, earthmoving, and demolition. Site preparation is critical to ensuring that a construction project is successful.

The Site Preparation Process
There are multiple steps in the site preparation process. Keep in mind that the steps you need to take will vary depending on your situation and what the status of the site is. For example, you may not need to do any demolition if the area is already clear of structures, or you may have additional zoning hurdles if you’re performing building construction on the project site.

1. Evaluate the Site
The first step involves conducting an evaluation of the site, which is more than just walking around and looking it over. You should also check the soil to determine how it will affect your project, and check for any obstructions on the site that will need to be dealt with.

Soil Testing
Soil testing is a geotechnical investigation to determine if soil on the site can handle the weight of structures, foundations, and even the heavy equipment you bring to the site. If it is the wrong type of soil, it could cause the structure to fall later. If you skip this step, it could jeopardize the structure down the road. Also, understanding what type of soil you have affects what kind of foundation you need to build and where.
The USCS classification system is used for engineering purposes and defines the different types of soils as follows:
- Coarse-grained soils
- Sands
- Grains
- Fine-grained soils
- Silts and clays
- Organic soils
Even within these subcategories, there are multiple ways to classify soil types and topsoil. Here is how OSHA classifies the types of soils to maintain safety on the jobsite, with Type A soil being the most stable type of soil outside of solid rock:
- Stable Rock: This soil type promotes a solid foundation, although it may make construction more difficult if it is in the way where you need to dig.
- Type A: These are cohesive soils that fail at compression greater than 1.5 tons per square foot (example: clay).
- Type B: These are cohesive soils that fail at compression between 0.5 and 1.5 tons per square foot (examples: gravel, silt).
- Type C: There are cohesive soils that fail at compression at 0.5 tons per square foot or less (examples: gravel, sand, submerged soil).
- Multi-type: These are soils that are in layers.
The geotechnical investigation will explain what type of soil or soils are on-site and what that means for your project.
Underground Obstructions
Another big part of evaluating the site is ensuring that the areas you attempt to build on don’t have underground obstructions that will cause major problems during construction. This can include natural obstructions or underground sewer or electrical lines. Call 811, the call before-you-dig hotline, before digging so they can alert you to any of these problems. You can use utility maps to help locate some of these underground utilities.
2. Survey the Site
The next step is to hire a surveyor to conduct a survey of the site, which involves using colored markings or pegs to locate boundary lines so you can see where construction can and can’t go. The step helps prepare you for the design phase because it will tell you where certain structures can be built.

3. Develop the Site Design Plan
Once the site is surveyed, it’s time to create the site design plan. This includes the designer’s final steps after evaluating the surveys and inspections. In this plan, the designer lays out exactly where each structure will go, including drainage and septic systems.

4. Create Site Access Points
With the design in place, you can create site access points at the building site as well as around the job site. It is important that heavy machinery can access the necessary areas when prepping the site. For example, you may need demolition machinery to remove old structures or landclearing equipment to clear brush.
Keep in mind that you will need perimeter access points for construction workers to move around the site and work, and you might also consider if there’s a need for porta potties on site. The better access and flow of traffic you can create, the more your risk of construction delay decreases.

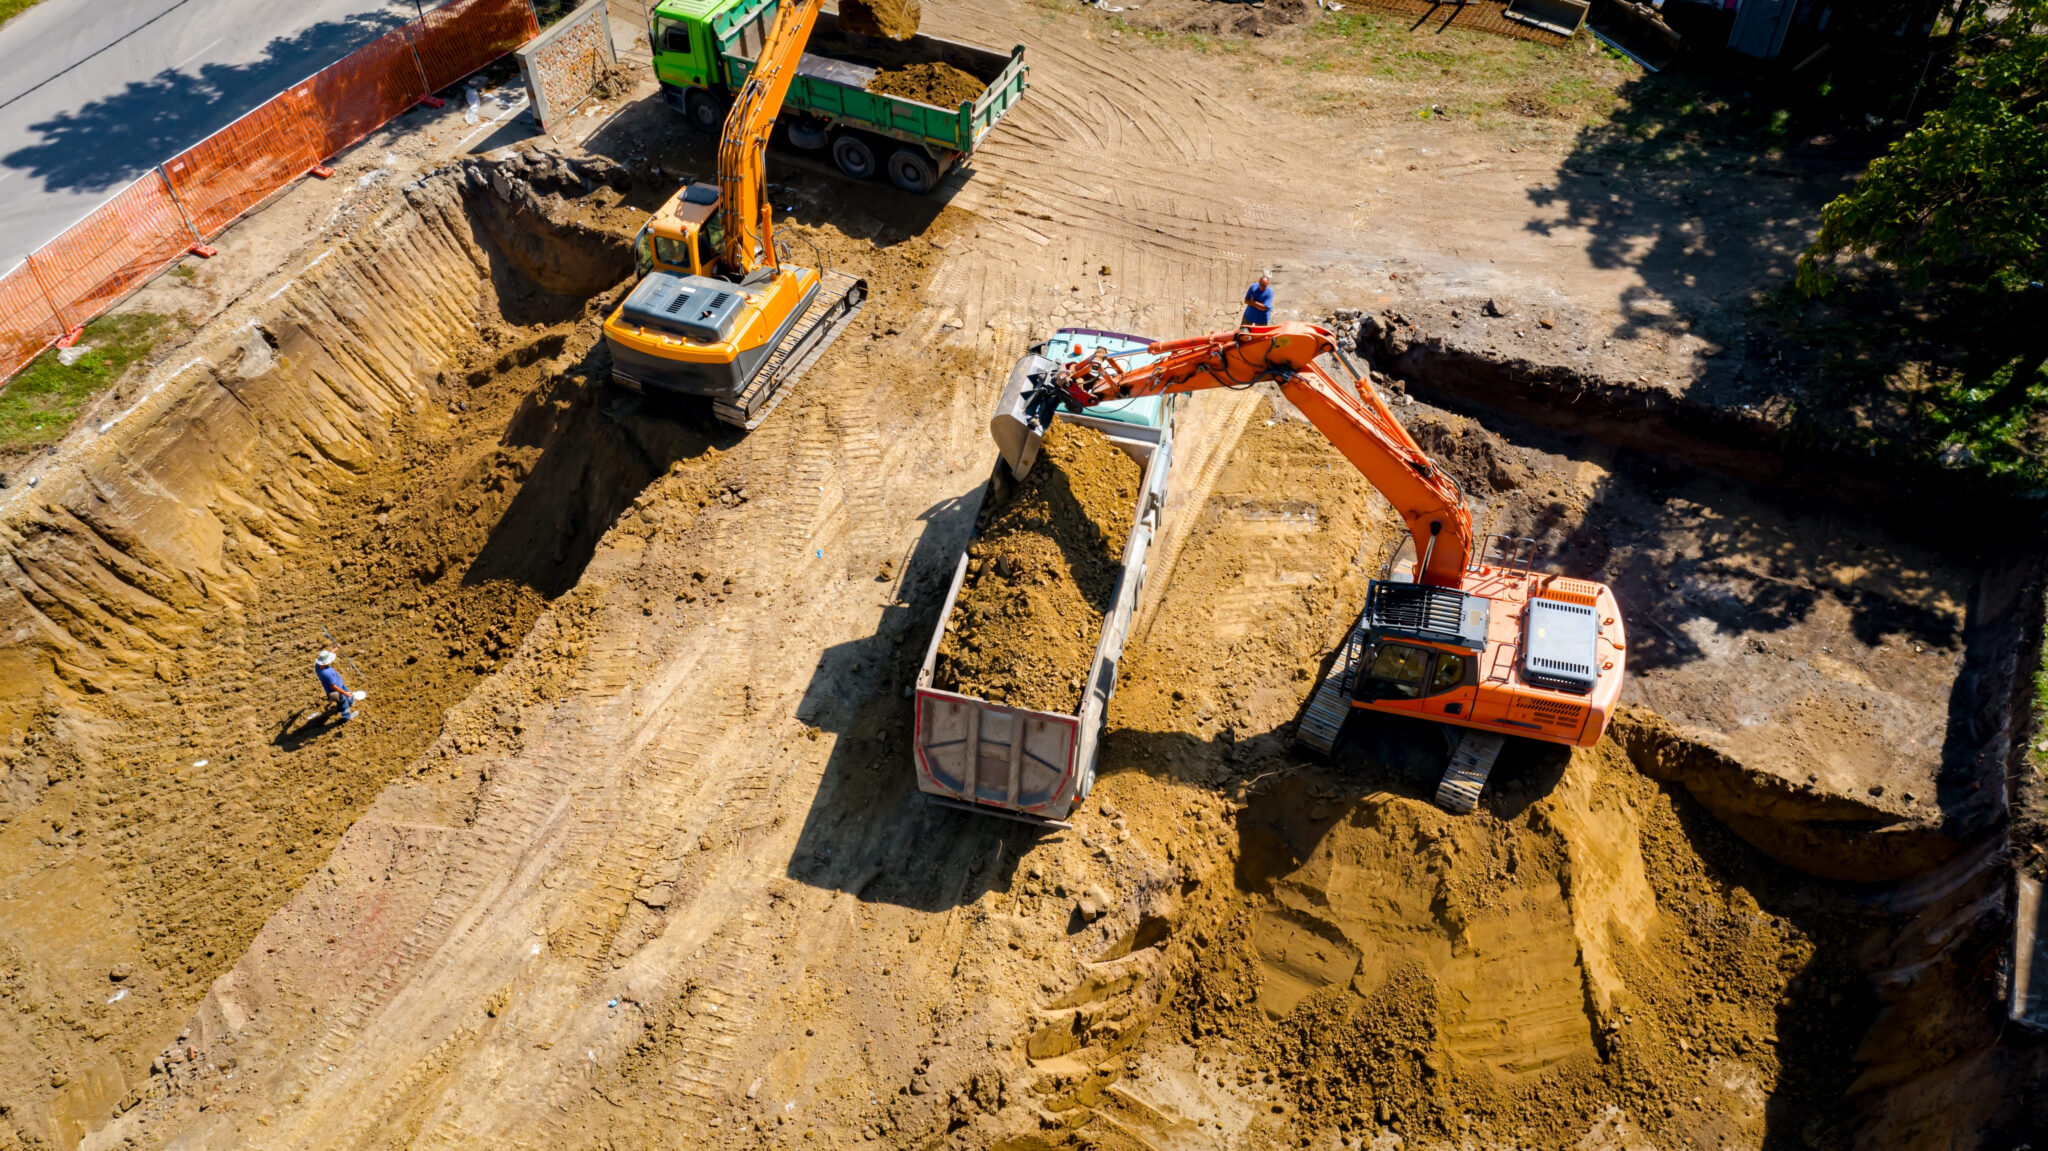
5. Clear the Site
Now that your heavy machinery can access the site, you can get to work clearing it. This will involve demolishing prior structures, removing the debris, or repairing structures, so you will need to identify what existing structures need to go and what equipment you need to use. If you need heavy equipment to do this task, BigRentz has a lot of heavy equipment rental options like bulldozers and backhoes.

6. Install Drainage and Erosion System Controls
Before construction begins, you need adequate drainage systems and erosion system controls, such as retention ponds and dewatering of groundwater, if necessary. You should also install a silt fence around the property to contain the soil to ensure that construction doesn’t disrupt the land and cause soil to be washed into roads and sewers.
Be sure to use best management practices (BMP) to secure barriers and help prevent runoff. Your BMP should help you keep the soil and sediment on the site, keep non-stormwater and other pollutants from discharging off site, stabilize soil that is impacted by construction activities, as well as mitigate and minimize how stormwater runoff affects surfaces.

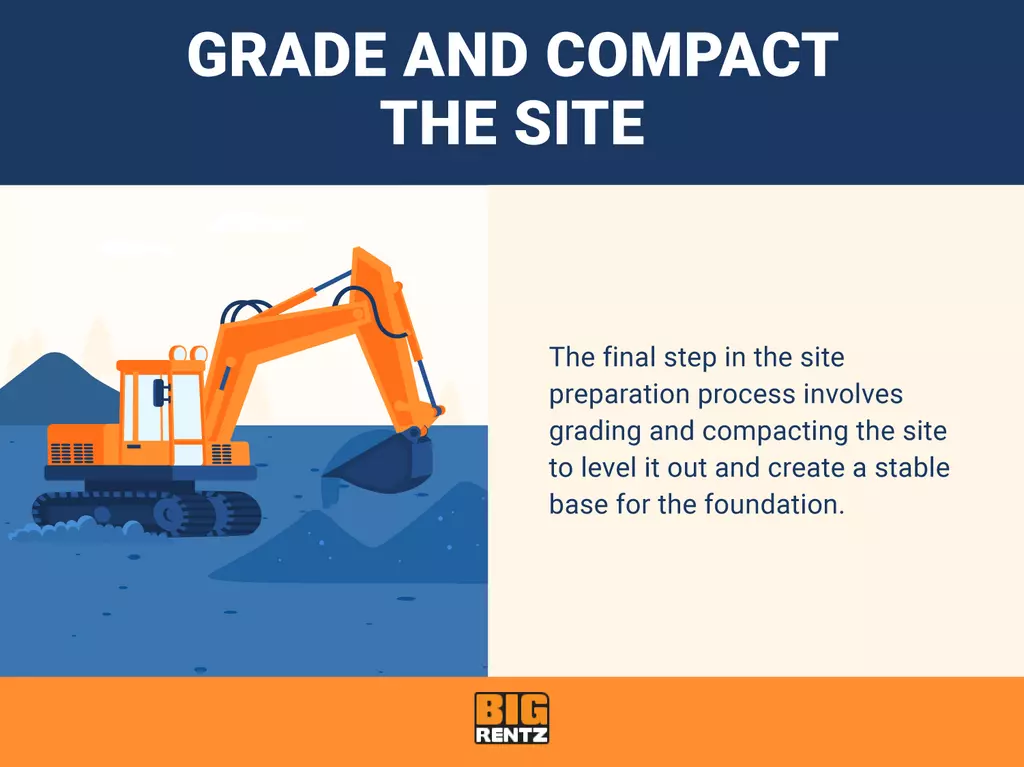
7. Grade and Compact the Site
Grading and compacting is the final step in the site prep process for new buildings. With the site clear and drainage installed, you can move earth around and do earthwork landscaping to get the site conditions you want. You can use methods such as “cut and fill” and “split level” to excavate the ground depending on what you want done to it. Once all of that is done, you will need to compact the ground to ensure that it is stable enough to support a foundation.
Site Safety Plan
Grading and compacting is technically the last phase of site preparation, but in reality the final thing you need to do is input a site-specific safety plan that will help keep everyone on the site safe. Here are some of the main concerns you should be addressing in a construction safety plan:
- Types of hazards on site: Are there tripping or toxicity hazards on the site?
- Procedures to avoid injuries and reduce exposure to hazards: What should managers and workers be doing on a day-to-day basis to lower their risk of being harmed by hazards?
- Contact information for all site crew members: What is the best way to contact a crew member or their family if something happens?
- Guidance on personal protective equipment to be worn on site: What protective equipment should be worn and for what tasks?
- Previous work done at the site to evaluate any potential hazards: What do we already know about on-site hazards?
When it comes to site preparation, you need heavy equipment to do the job. That’s BigRentz’s specialty, so contact us for a consultation today.